In my quest to continue learning Open Shading Language (OSL), I struggled with the lack of available examples. By contrast, there are many examples (and sites dedicated to examples) for the OpenGL Shading Language (GLSL) shaders. While these languages share a C-style syntax, their underlying philosophies and execution environments differ significantly, but those differences don’t have to stop us. This post will guide you through the process of converting GLSL shaders to the world of OSL.
Understanding the Divide: GLSL vs. OSL
Before we dive into the “how-to,” let’s briefly touch upon “why” conversion isn’t always straightforward.
GLSL is intended for real-time rendering. Therefore, it is designed for the lightning-fast calculations using a GPU. GLSL is an imperative programming language, meaning you explicitly dictate how the final pixel color is computed, often looping through each light for each fragment (essentially a pixel).
OSL, on the other hand, is built for offline rendering on the CPU, prioritizing accuracy and physically-based behavior. It is a declarative programming language. In OSL, you describe the surface properties of an object and leave the heavy lifting of lighting calculations to the renderer.
| Feature | GLSL (OpenGL Shading Language) | OSL (Open Shading Language) |
|---|---|---|
| Execution Arena | GPU (For Speed) | CPU (For Quality) |
| Shading Philosophy | Direct Color Calculation | Surface Property Description |
| Light Handling | Manual Loops & Calculations | Handled by the render engine |
| Data Flow Between Stages | varying Variables | Input/Output Parameters |
| Built-in Toolset | Extensive Math & Transformation Functions | Rich Library for PBR & Proceduralism |
The Conversion Journey: A Step-by-Step Guide
While a simple automated tool to handle this translation perfectly doesn’t exist (yet!), understanding the fundamental differences allows for a systematic manual conversion.
1. Laying the Foundation: Shader Structure
Every shader needs a starting point. GLSL starts with a main() function while OSL utilizes a shader definition with a specific name.
GLSL Snippet:
void main() {

// Your GLSL shader code here

}Corresponding OSL Structure:
Here is the corresponding code in OSL.
shader my_converted_shader(

// Input and output parameters will go here

)

{

// Your OSL shader logic will reside here

}I always forget, but Blender has templates that you can use to jumpstart the creation of OSL shaders. In the scripting tab, select Templates->Open Shading Language->Basic Shader.

2. Translating the Building Blocks: Variables and Types
Next, we need to map GLSL variables to OSL’s parameters. Fortunately, many fundamental data types have direct counterparts.
| GLSL Type | OSL Equivalent | Notes |
| float | float | Same basic floating-point number. |
| vec2 | vector2 (not a built-in type, but available in some implementations of OSL) | Represents a 2D vector. |
| vec3 | vector, color, or point | Context-dependent; think about its usage. |
| vec2 and vec4 | No built-in type in OSL, but you can create through struct and operator overloading | Represents a 4D vector. |
| mat4 | matrix | Represents a 4×4 matrix. |
| sampler2D | Handled by texture() function | OSL doesn’t have sampler types directly. |
GLSL uniform variables, which hold constant values during rendering, typically become input parameters in your OSL shader. GLSL varying variables, used to pass data from the vertex to the fragment stage in GLSL, will also become input parameters in your OSL surface shader. OSL doesn’t inherently have the same fixed pipeline stages as GLSL.
3. Input and Output: A Different Perspective
In GLSL, you interact with built-in variables like gl_FragCoord (screen-space coordinates) and gl_TexCoord (texture coordinates), and you ultimately write the final pixel color to gl_FragColor. OSL operates on a parameter-based system.
- Vertex Position: GLSL’s gl_Vertex concept translates to the global variable P (the point being shaded) in OSL.
- Surface Normals: gl_Normal in GLSL corresponds to the readily available global variable N in OSL.
- Texture Coordinates: You’ll usually define an input parameter for your UVs, often named something descriptive like uv.
- Final Color Output: Instead of directly assigning a final color, OSL shaders define an output closure, most commonly Ci (color index), which describes the surface’s scattering properties.
4. The Heart of the Matter: From Imperative Lighting to Declarative Closures
This is where the fundamental shift in thinking occurs. Many GLSL shaders contain explicit loops that iterate through light sources, calculating their individual contributions to the final color based on factors like distance, angle, and attenuation.
OSL takes a different approach. Your shader’s primary responsibility is to define how light interacts with the surface at a given point. This is achieved through closures, which are functions that represent basic light scattering behaviors. Think of them as building blocks for materials. Common closures include:
- diffuse(): For matte, non-reflective surfaces.
- glossy(): For shiny, specular reflections.
- emission(): For light-emitting surfaces.
- transparent(): For see-through surfaces.
You combine these closures (often by simple addition) to create complex materials. The renderer then takes these surface descriptions and performs the intricate lighting calculations.
Illustrative Example: Simple Diffuse Shader
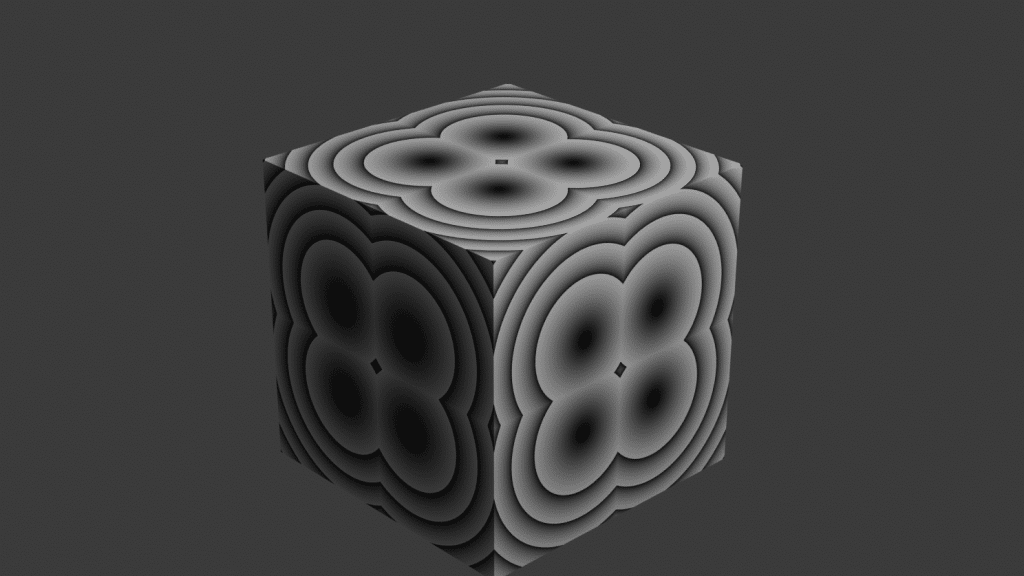
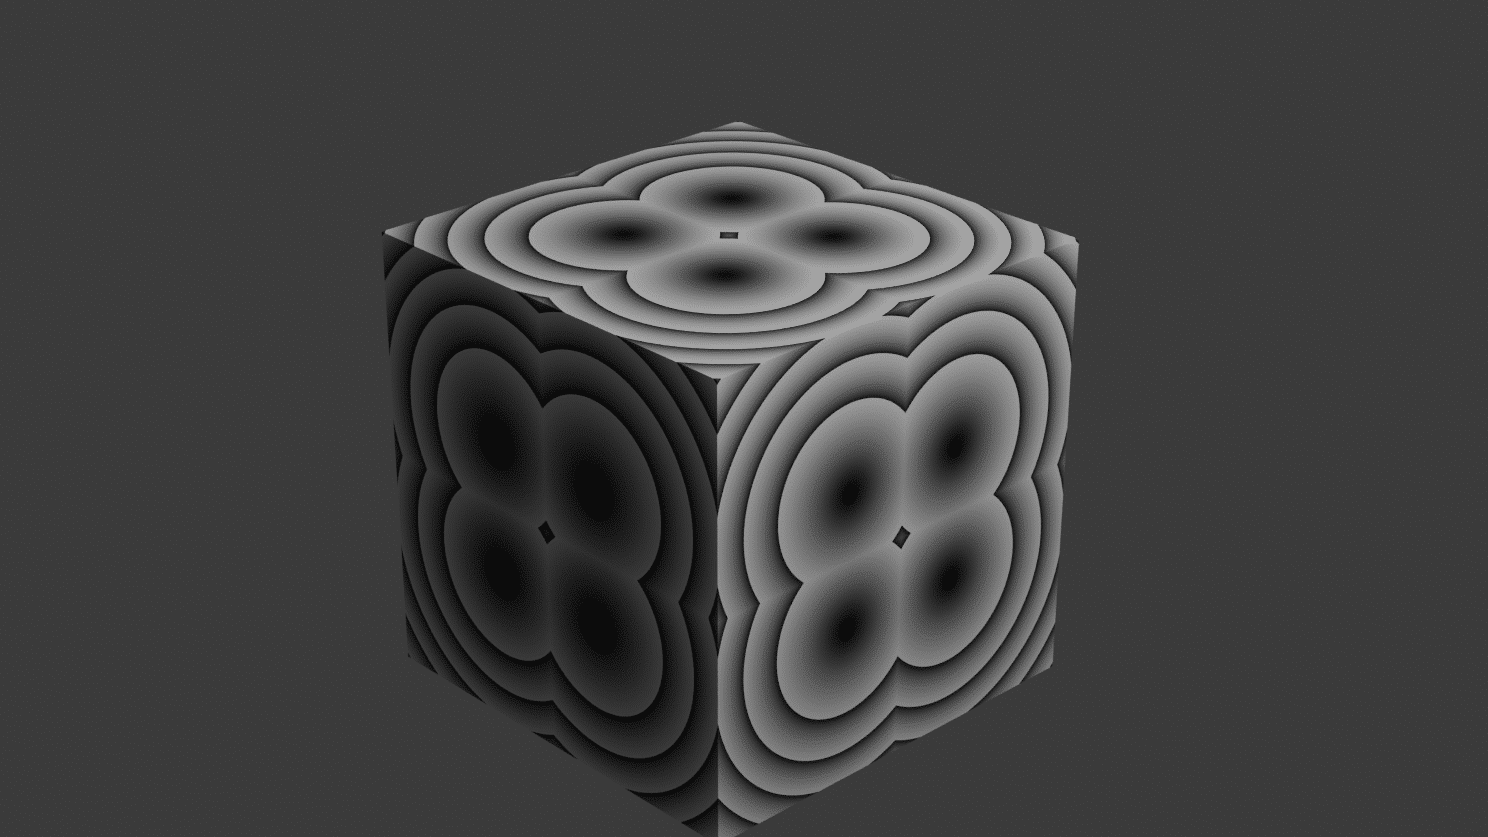
To show the conversion, let’s take a simple example from the Book of Shaders.

GLSL Approach (Simplified):
#ifdef GL_ES

precision mediump float;

#endif

uniform vec2 u_resolution;

void main(){

  vec2 st = gl_FragCoord.xy/u_resolution.xy;

  st.x *= u_resolution.x/u_resolution.y;

  vec3 color = vec3(0.0);

  float d = 0.0;

  // Remap the space to -1. to 1.

  st = st *2.-1.;

  // Make the distance field

  d = length( abs(st)-.3 );

  // Visualize the distance field

  gl_FragColor = vec4(vec3(fract(d*10.0)),1.0);

}OSL Equivalent:
float fract(float n)

{

    return n - floor(n);

}

shader distance_shader(

    vector uv = vector(u,v,0),

    float uv_max = 1.0,

    float in_distance = 0.3,

    color in_color = color(1.0, 1.0, 1.0),

    output color out_color = color(0.0, 0.0, 0.0)

    )

{

    vector st = uv / uv_max;

    out_color = color(0.0);

    float d = 0.0;

    // Remap the space to -1 to 1

    st = st * 2.0 - 1.0;

    d = length(abs(st) - in_distance);

    out_color = fract(d*10.0);

}In this example, the differences are minor. We don’t have a variable equivalent to u_resolution, so instead, we simply use the uv and a uv_max factor that allows us to scale. We also don’t have a function to return the fractional part of a number (fract() in GLSL). However, it is really easy to create. Finally, in the GLSL example, we use a vec4 for RGB + alpha. In OSL, color is only RGB (or alternative color spaces like HSV). Therefore, if you need alpha, you can create a struct:
struct RGBA {

    color rgb;

   float alpha;

};5. Function and Noise Translation
Many of GLSL’s familiar built-in mathematical functions have direct or near-identical counterparts in OSL. Functions like mix(), normalize(), dot(), and clamp() generally translate directly.
For procedural noise, OSL boasts a powerful and flexible noise() function capable of generating various noise patterns. You’ll need to adapt your GLSL noise implementations to utilize OSL’s noise capabilities.
Conclusion
The key to converting GLSL shaders to OSL is understanding the purpose of each shader language and embracing a different paradigm. By understanding the core philosophies of real-time GPU-centric rendering versus physically-based CPU rendering, you can effectively bridge the gap. Focus on mapping GLSL’s imperative control flow to OSL’s declarative surface properties and utilizing its powerful closure system. While it requires a shift in mindset, the reward is access to the high-quality, realistic rendering capabilities that OSL provides. Hopefully, this guide serves as a starting point to exploring OSL’s extensive features and unlocking new possibilities in your rendering projects.
If you found this helpful, check out some of our other OSL blog posts.


