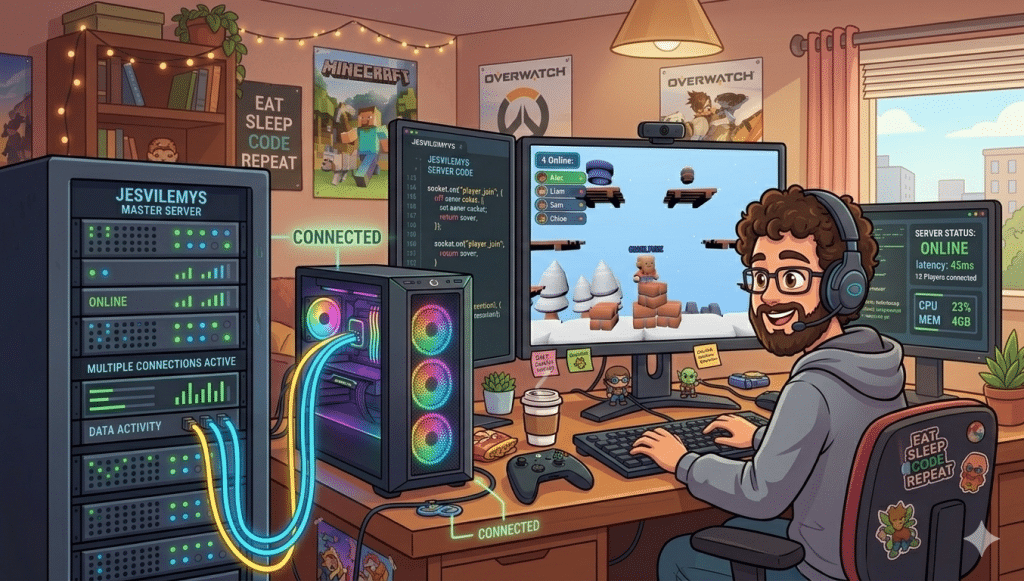
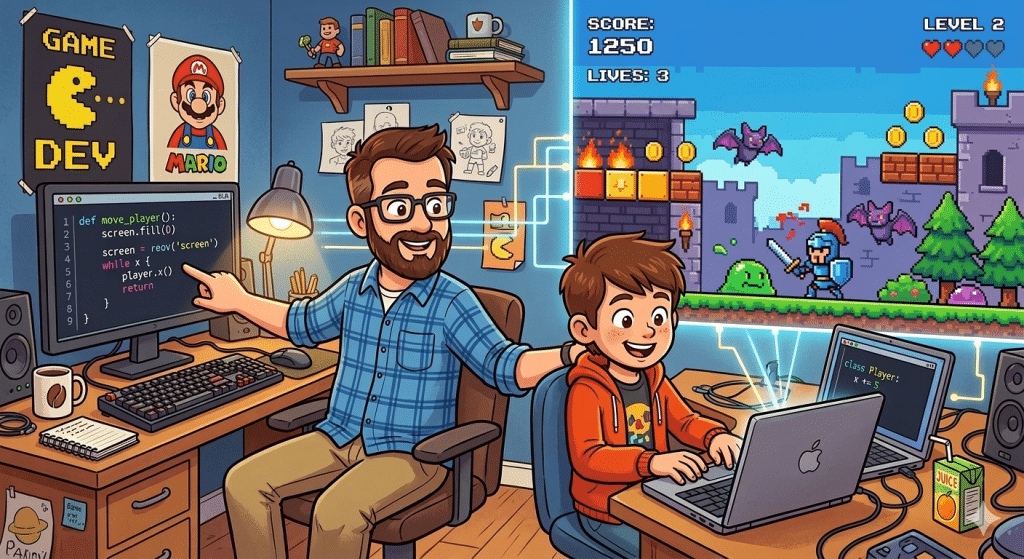
In today’s post, we extend our PicoGame engine to read and execute a MakeCode Arcade script.
The Approach to Integrate MakeCode Arcade
We considered multiple approaches:
- Run our own MakeCode server with custom download
- Build a compiler that converted from TypeScript to my Python
Ultimately, we decided to build a front-end to the PicoGame engine that translates from MakeCode to the game engine. The file from MakeCode Arcade is not overly complicated. We just needed a way to get the core elements into the PicoGame game engine.
Running the MakeCode Arcade file
The example MakeCode file is located in the example folder of our GitHub repository. To run the file with our game engine, we need to add two things. First, we add import statements that connect to our game engine.
from picogame.makecode import *
from picogame.sprite import *
Second, we add a function that runs the game.
def run(currentScreen):
    game.run()
The other change we made from the original is to delete the statement “setBackgroundImage”. In MakeCode, each individual pixel of the background was represented as a byte despite the fact that it was a solid black background. This caused memory issues.
The Code to Translate MakeCode Arcade
This section walks quickly through the structure of the code. Building the interface between MakeCode Arcade and our game engine just required building or extending a few classes.
- MakeCodeInput: handles MakeCode input calls
- Scene: sets up the scene
- Sprites: manages sprites
- MakeCodeController: game controller
Note that this doesn’t cover everything in MakeCode Arcade yet. I will add more functionality as needed (rather than trying to exhaustively add every potential node in MakeCode).
MakeCode Arcade Input
To handle input from a gamepad or other controller, MakeCode makes calls to controller. I subclassed the controller.Input class of our PicoGame engine. Key changes include:
- In the __init__ function, I moved the A and B buttons from our control list and made them instance variables. That allowed MakeCode to call these directly (e.g., controller.A).
- A function called move_sprite that associates a sprite with the movement controls.
- A function to check whether there is an event on either button.
- Finally, a function that is called in the update to move the associated sprite each frame.
Scene
I added a class called Scene that handles calls to set up the scene. The only function is to set the background image. This function doesn’t do anything. This is primarily due to memory management issues. In the example file that my son created, each individual pixel of the background was represented as a byte despite the fact that it was a solid black background. Loading this was too much for the Raspberry Pico RAM. We only have 264 KB to work with, and we need ~64 KB to represent our screen buffer (not to mention space for the code itself).
Sprites
This class handles creation of different types of sprites. This class merely translates into calls to the existing Sprite class. In addition, it created a list of sprites and added created sprites to the list to draw on screen. I need to add a culling function to remove sprites that are off screen. MakeCode doesn’t keep one representation of the sprite and draw the sprite many times. Instead, it creates a new version of the sprite every time the enemy or projectile function is called. The Pico runs out of memory if the game runs too long.
MakeCode calls a function “img” that translates a text string into an image. I simply pass this into the Image class in our game engine.
MakeCode Arcade Game Controller
To run the game, I subclassed the GameController class. In the init function, I added a blank list to keep track of events to call on a given interval. I actually really like this feature. It is used to generate the asteroids and satellites on different intervals. The class method, on_update_interval adds the events to the list.
The main game loop, update, is fairly straightforward:
- Clear the screen
- Process input
- Check our intervalUpdate list to see if we need to fire one of the interval callbacks
- Update the positions of all of the sprites
- Blit the sprites onto the screen
Conclusion
This does not cover every functionality of MakeCode yet. My goal is to add functionality as my kids create games that require more functionality. I have a lot of improvements to make. Most notably, I need to do something about the memory management.