Today, we will convert a 2D image into a 3D model using Inkscape and Blender, both open source.
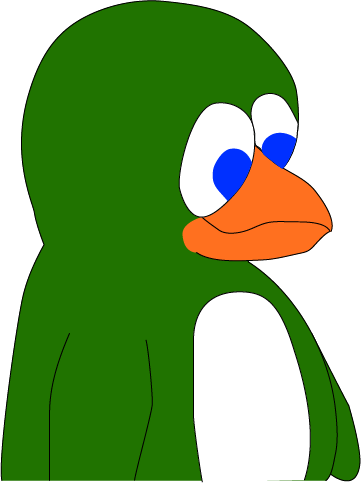
Inkscape is a vector graphics editor, similar to Adobe Illustrator. We will use Inkscape to import a PNG file and to convert to SVG. Once we have an SVG file, we can import into Blender. We will be using the image below.

What is SVG?
Let’s start with the basics. What is SVG and why do we need it? SVG stands for Scalable Vector Graphics. Unlike other image formats, like PNG (called raster images), SVG files consist of code that describes shapes, paths, and other graphical elements using mathematical equations. This allows SVG images to be infinitely scalable without any loss of quality. SVG files are stored using an XML based file format. For example, below is the complete SVG file for a circle.

<?xml version="1.0" encoding="UTF-8" standalone="no"?>
<!-- Created with Inkscape (http://www.inkscape.org/) -->

<svg
   width="210mm"
   height="297mm"
   viewBox="0 0 210 297"
   version="1.1"
   id="svg5"
   xmlns="http://www.w3.org/2000/svg"
   xmlns:svg="http://www.w3.org/2000/svg">
  <defs
     id="defs2" />
  <g
     id="layer1">
    <circle
       style="fill:none;stroke:#000000;stroke-width:4.23333333"
       id="path788"
       cx="110.11652"
       cy="174.29872"
       r="67.328384" />
  </g>
</svg>This file is 518 bytes. The same image in PNG format is 23 KB and the PNG version has limits to scaling. The PNG file is 794×1123 pixels, which means that if you print it at more than 8 inches by 8 inches, you would lose image quality.
Based on the benefits of SVG, why isn’t every image stored as SVG? SVG is better for illustration type graphics. It would not work well for photographs. As we will see in more detail below, SVG works based on paths that are made up of geometric primitives (circles, squares).
Inkscape
We will start with inkscape. Open Inkscape and create a new document. Next, click File->Import and select our image above. Click open. You will see a pop-up with import options. Keep the default import options and click ok.
Next, right click on the image and select “Trace Bitmap”. A panel will appear on the right that provides the options for the tracing.
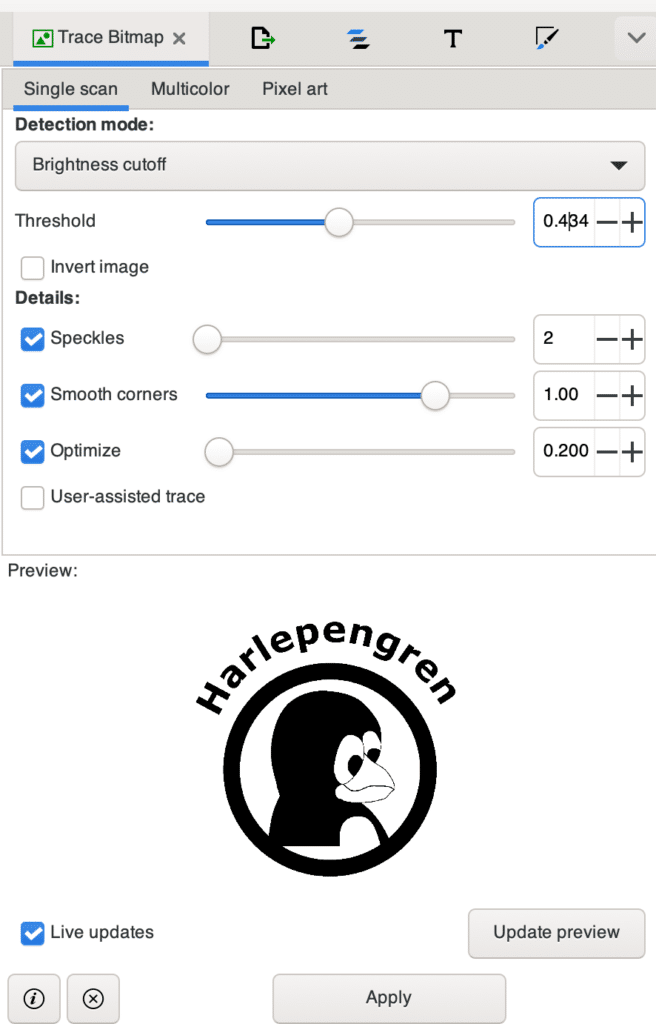
The first decision is whether you want to create one path or multiple paths. In my case, I will choose single scan, because I only need one path. However, if you have multiple elements that you want to create as different paths, you would select multicolor.
Next, we need to choose the detection mode. Which one to use depends on your image. You can try the different options and see the preview to see the effect. My image works well with either brightness or edge detection. I am going to keep brightness. If whichever setting you choose is not working well, you may need to decrease the contrast of your image (my recommendation is to use Gimp for this).
Once you select the detection mode, you can adjust the settings to your liking. Threshold determines what level of brightness is included or excluded from the scan. Again, you can see a preview of the results. If I wanted to remove the penguin, I could drop the threshold to 0.010. I don’t want to do that.
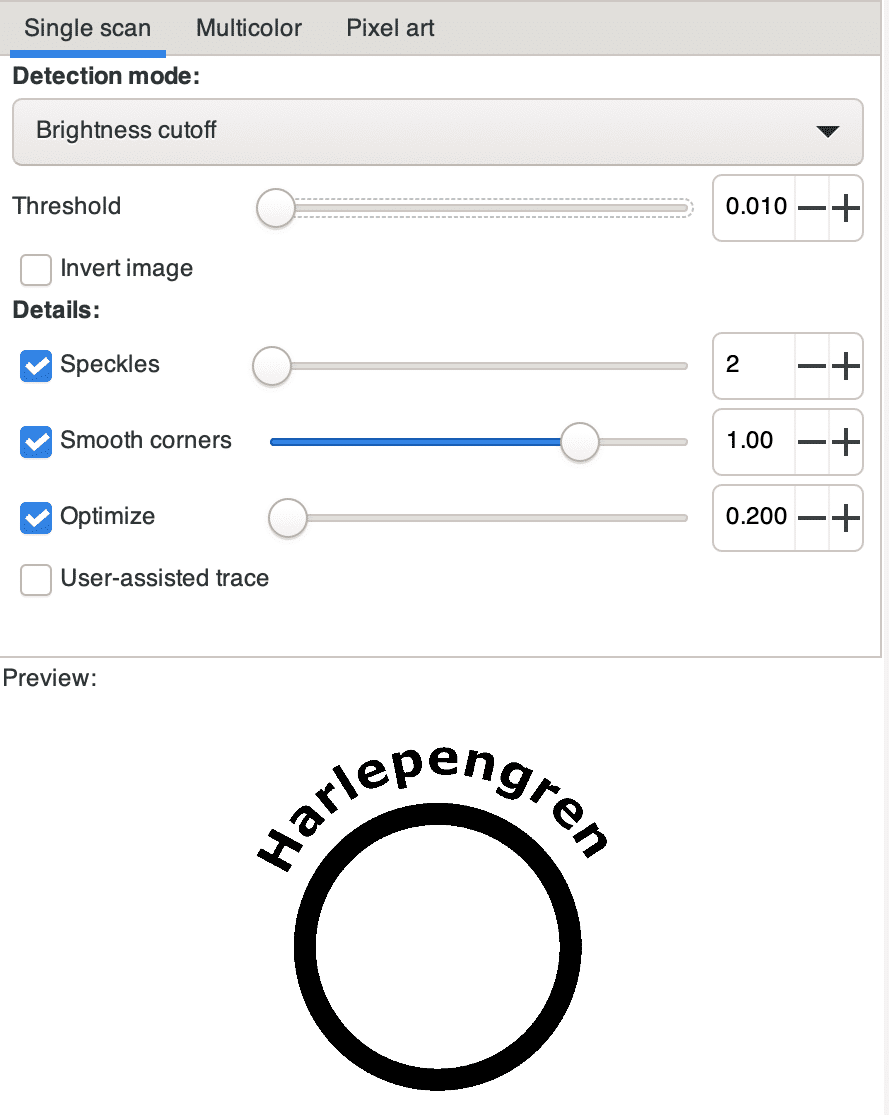
Next, you have a few options to improve the resulting paths. Speckles removes speckles from the image. If you find that you have a few small paths that are artifacts of the scan, you can increase the speckle size. In my tests, I didn’t notice speckles in Inkscape, but I saw the wayward paths when I imported into Blender. Smooth corners determines how a curved path should look. I am leaving at 1; however, if you want sharper corners, you may reduce this setting. Optimize connects curves together.
Once happy with the settings, click Apply.
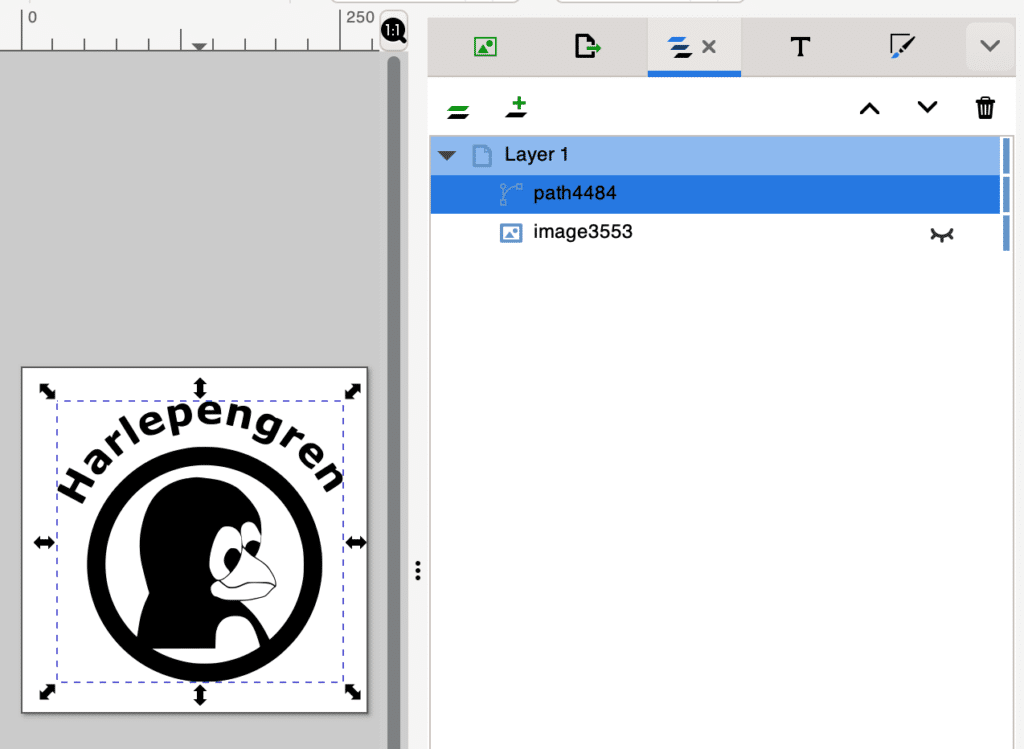
Before we head to Blender, I like to check the result. Click on the image and then in the Layers and Objects panel on the right click the eye icon next to the image. This will hide the image so we can see just the paths. For me, the result looks great.
Now, we export. Press File->Save As. Choose a filename and select “Plain SVG” as the output file.
Blender
Open Blender and create a new scene. Delete the default cube. Click File->Import->Scalable Vector Graphics (SVG) (not the grease pencil). Select the svg file you saved from Inkscape.
At first you may think nothing happened. The imported object is probably very small. In the outliner panel on the right, you should see the svg file listed as a collection and the path underneath. Select the path and scale up. We are going to rotate the object around the x-axis.

Depending on your image and whether you adjusted the speckles in Inkscape. You may see random paths around your image. Therefore, you may need to clean slightly (e.g., delete the paths).
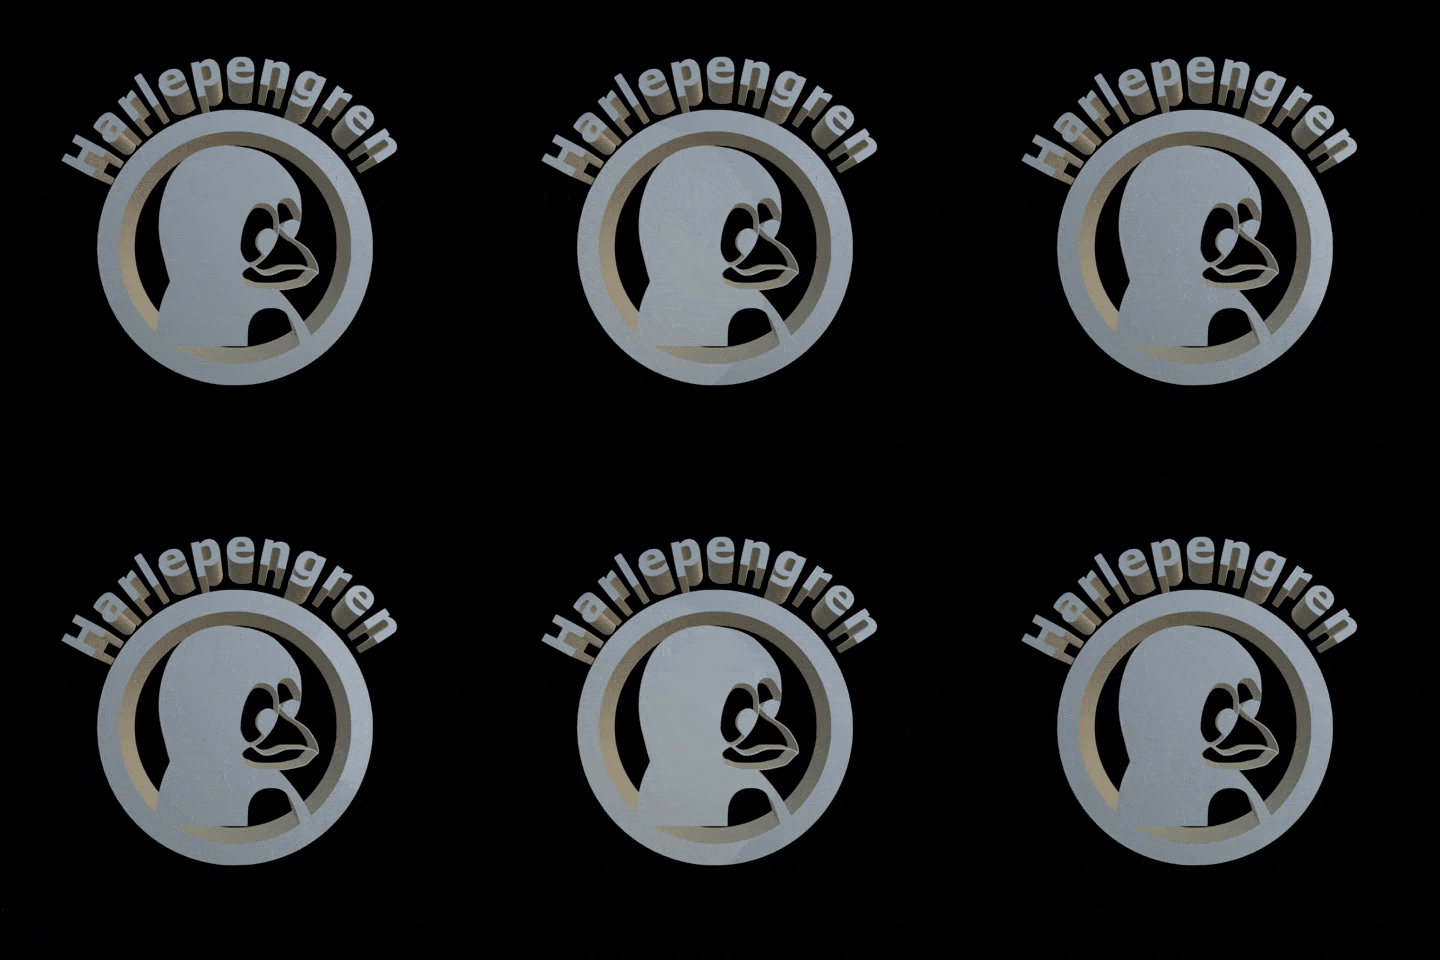
Next, we will convert the path into a mesh. Press Object->Convert->Mesh. Now, if you press tab to enter edit mode, you should see vertices instead of paths. In edit mode, press e to extrude, y for the y axis and move the mouse. We now have a 3D mesh of our image.
Conclusion
In this post, we converted an image to a Blender model. This could be useful for creating a 3D model of a logo. I had not used Inkscape prior to making this tutorial. However, I am definitely interested in the possibilities. Let me know if this was useful in the comments below.
