Originally written for Blender 3.x — the smoke simulation workflow is largely the same in Blender 4.x, but Eevee Next handles volumetric materials differently. If you’re rendering with Eevee, the volume shader setup in Step 3 may vary.
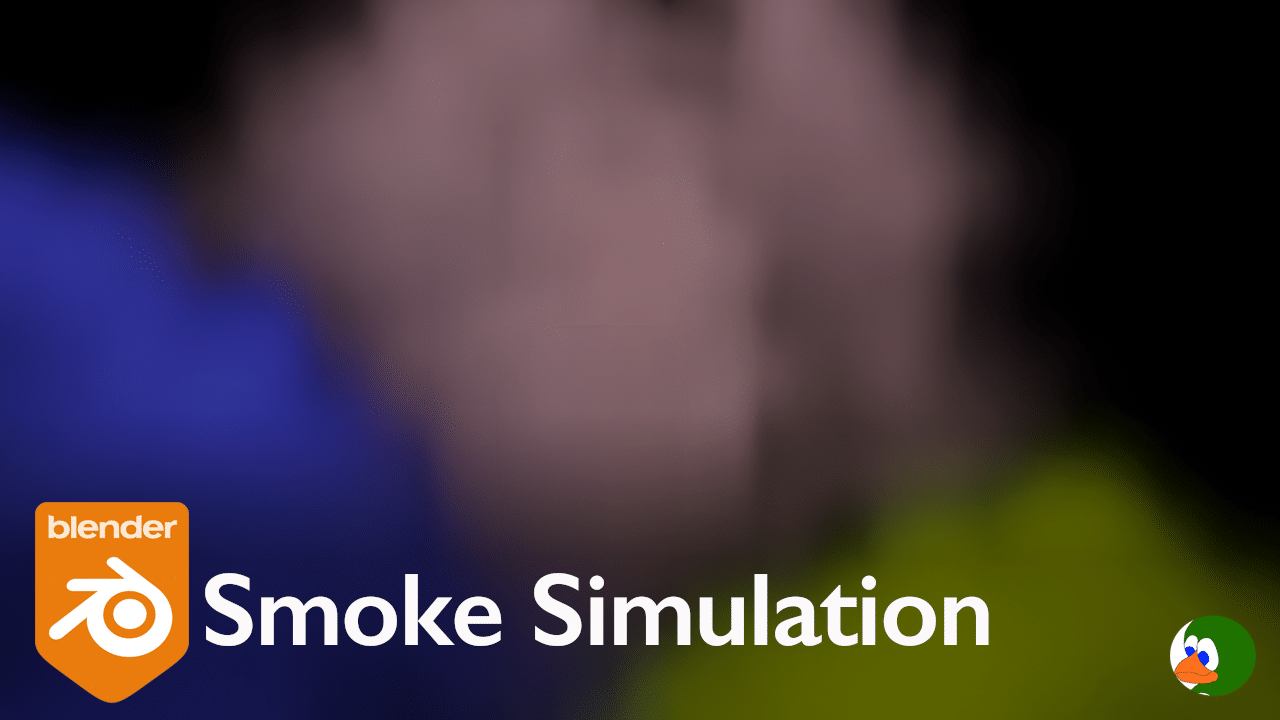
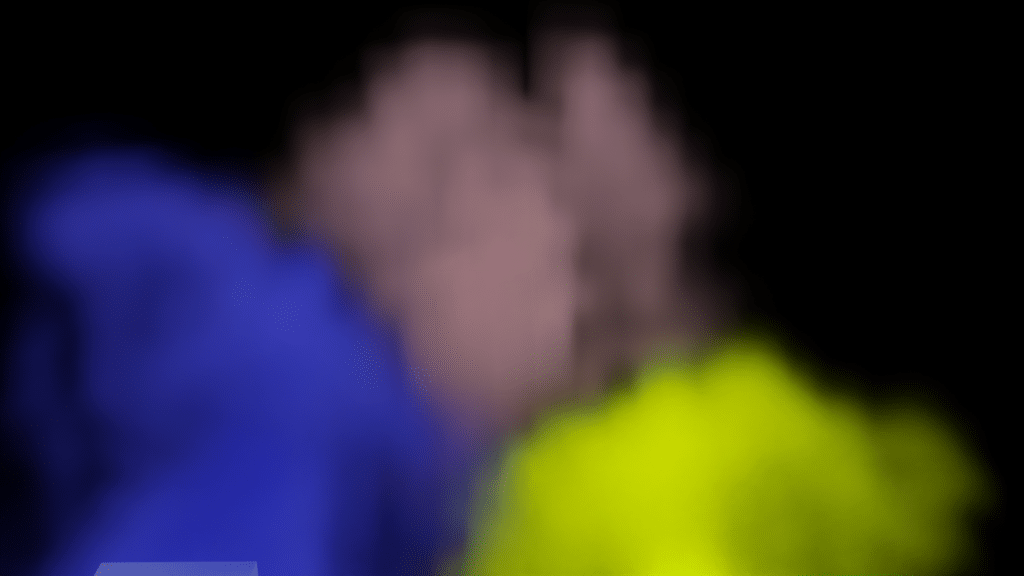
Recently, I saw artwork that looked like various colors of smoke mixing together. I wanted to re-create in Blender, using the Blender smoke simulation. Below are the 5 easy steps that I followed, and here is the final render.
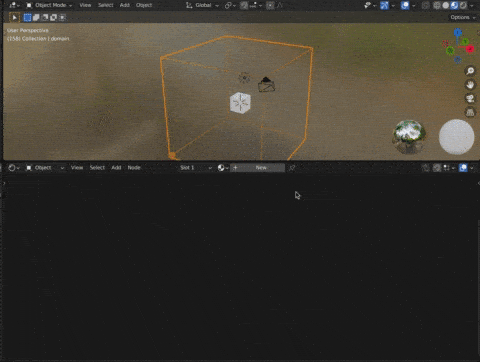
Step 1: Create the Domain
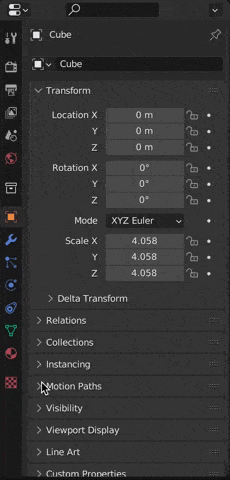
The first step in any liquid or gas simulation is to create the domain. Add a cube and scale it up. I always apply the scale to the models as I go (ctrl-a, Scale). If an object is not scaled uniformly in all directions, it can impact the simulation (see our common errors for simulations).
Next, go to the Physics tab on the right side of the screen and select Fluid. In the fluid type, select “Domain”.
I clicked on the “Noise” checkbox to add a little noise to the smoke.
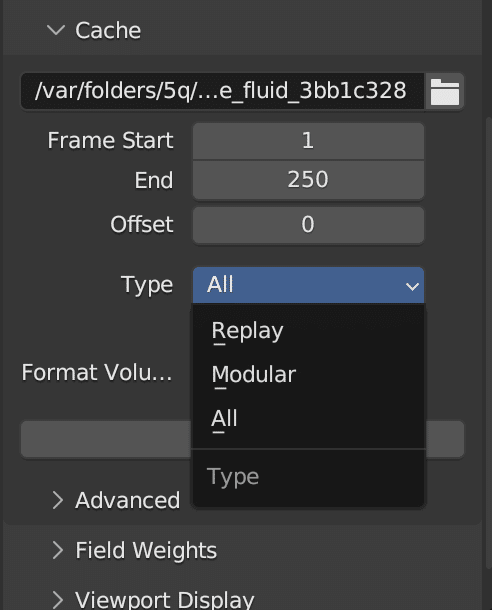
Scroll to the Cache section of the Domain properties (toward the bottom) and change Type from “Replay” to “All”. This allows us to bake the simulation.
Step 2: Add the Emitter
Now we will add the emitters. Add another cube. Scale it down (s -> 0.4). Apply the transformation (ctrl-a, Scale).
Next, go to the Physics tab, select Fluid, and set the type to flow.
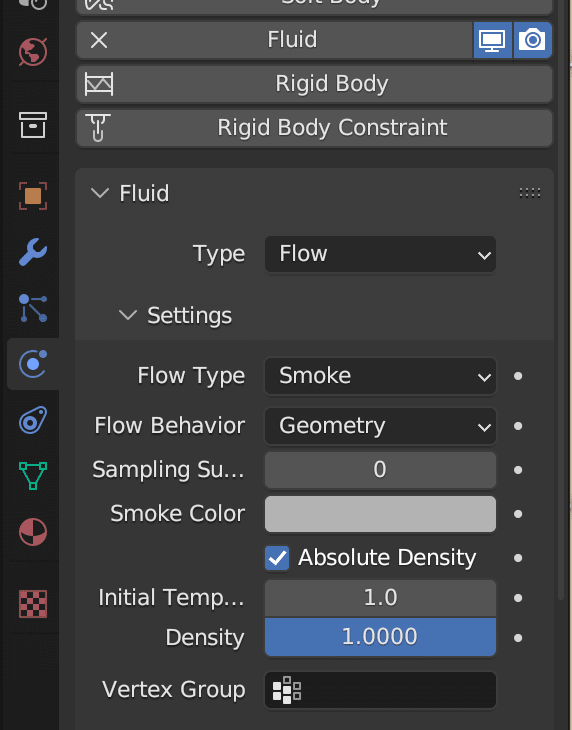
Change flow behavior from “Geometry” to “Inflow”. Change the color of the smoke. Adjust the density to 6. Density determines how thick your smoke is. I wanted thick smoke. However, if you want thinner (less dense) smoke, make this value lower.

Click on the Domain and Bake the Cache.
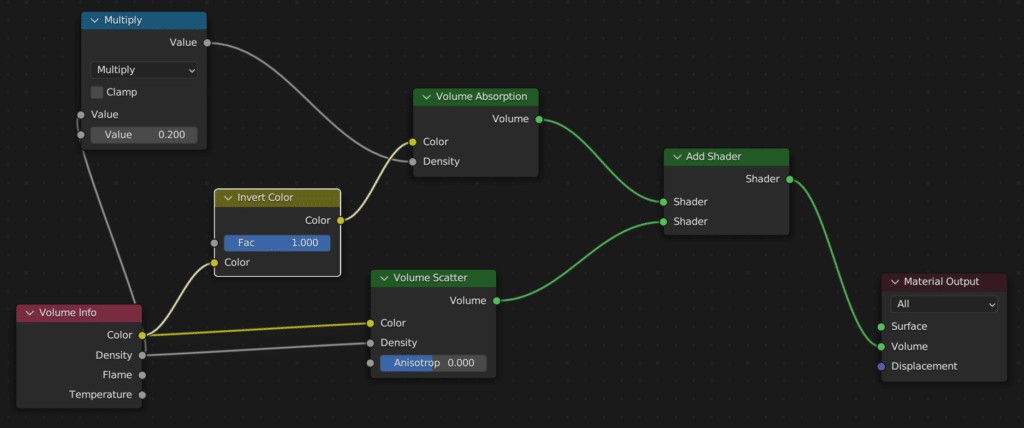
Step 3: Apply the Materials
If you render at this point, you would see nothing. This is because we don’t have a volumetric material. Select the domain and go to the shading tab. Add a new material.
Delete the Principled BSDF shader. You can add the Principled Volume. However, I prefer to add a Volume Absorption, Volume Scatter, and Add Shader, because I have more control.
I also added a Volume Info and Multiply node. The Volume Info allows us to bring in the color and density from the emitter. This is even more important if you have multiple emitters with different densities and colors. The Multiply node is used to reduce the density for the absorption.
Step 4: Add Lighting
Lighting is really important for smoke. I added an HDRI image to the world. Since I use an HDRI image on almost every render, I have a world setup in my Asset Browser.
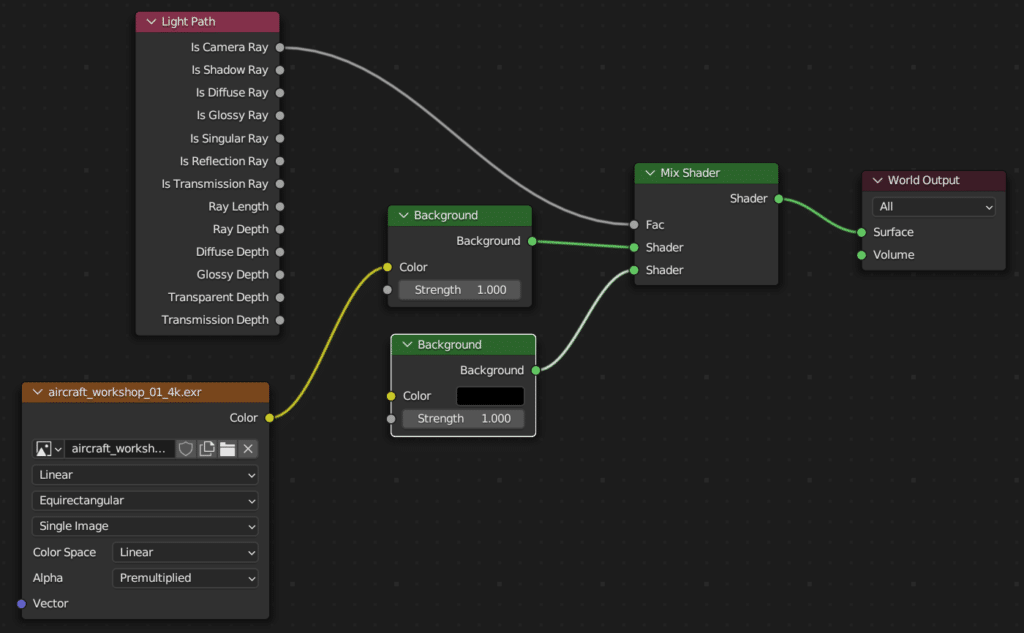
I also added a 1000w point light behind the smoke.
Step 5: Render and Repeat
The final step is to render.
Smoke is just one type of Blender Mantaflow simulation. If you want to try liquid next, I have tutorials on how to create a Blender water simulation and creating liquids with different viscosities like water, ketchup, and melting glass. For a broader overview of what Blender’s physics system can do, Create Realistic Fluid and Rigid Body Simulations in Blender is a good roundup.
If you want to add surface detail to your models outside of simulation, check out how to use a displacement map in Blender. It’s a fast way to add depth and texture without extra geometry.