Every time I make a new marble run video, I always start from scratch. I have become fairly quick at making some of my common assets (e.g., funnel). However, this keeps me from being very innovative, because I spend most of the time on the same few types of track pieces. Blender includes an awesome feature, call the Asset Library, that allows you to easily view and import models. Although I knew that Blender had introduced an Asset Library. I had not used the feature. Recently, I decided to give it a try using marble run pieces.
What is the Asset Library
The Asset Library was added to Blender in 3.0. The goal was to allow users to re-use and share Blender assets. An asset can be either a primitive (e.g., objects, materials, or worlds) or a preset (e.g., poses).
Creating the Asset Library
Creating the Asset Library was incredibly easy. First, set up a location where you will keep the library. In my case, I created a folder on my computer labeled Blender Assets.
Next, add the location of the folder in preferences. Edit->Preferences->File Paths->Asset Library.

Populating the Library
Now that we have a library, we need to populate it. I am using my Marble Run assets. Copy the unzipped Marble Run Library file into the path you created above.
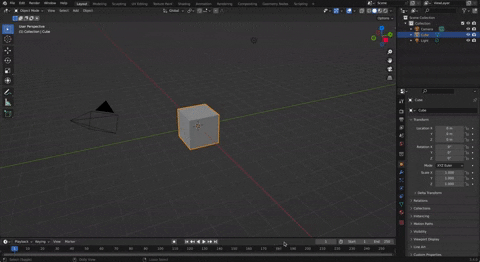
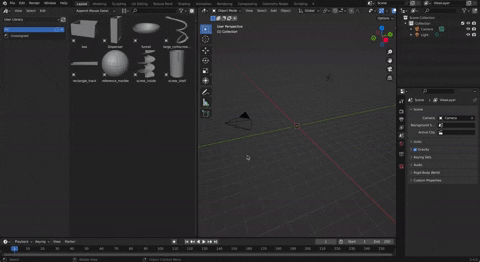
Accessing the library in Blender is easy. Split the screen by right clicking along the bottom of the main window and click “Vertical Split”. Now in upper left corner of the new window, select “Asset Browser”.
From the asset browser view, you can simply drag the asset into the 3D View.
Create a New Asset
Creating a new asset is really easy. You simply need to create an object or material as you normally would. Apply the scale and rotation by pressing Ctrl-A and selecting “Rotation & Scale”. This is not a requirement of the Asset Library, but it will ensure the object is the correct size and rotation in the library.
Once the model is created, we need to mark the model as an asset. In the Outliner view on the right. Right click on the model and select “Mark as Asset”. You will notice that the icon changes. As soon as you move the file with the model into the path you set for the Asset Library, you should see the object in your library.

The model will include the materials. However, you can separately mark materials as an asset. The process is the same. Find the material in the Outliner view and right click on the material selecting “Mark as Asset”.
Conclusion
The Asset Library significantly speeds up my ability to create marble run worlds by simply dragging the assets. Unfortunately, this won’t speed up physics baking. I will have to save that for a future day.