Today, we are continuing the development of our Minecraft server. However, as I noted in the first post, I don’t want the server running when my children are not using it. We created a Python script that allows us to control the server. The Python script is a significant improvement over signing into the AWS console every time, but the script is not easy for my son to use. Therefore, we are going to create an AWS server management Mac app that provides a user interface to our Python script.
Setting Up the App
To get started, open Xcode and create a new MacOS app. At some point in the future, I would like to make this an IOS app. However, we are going to use the Python script we created in the previous post. Our app needs Python on the system. Python is available on Mac, but not on IOS.
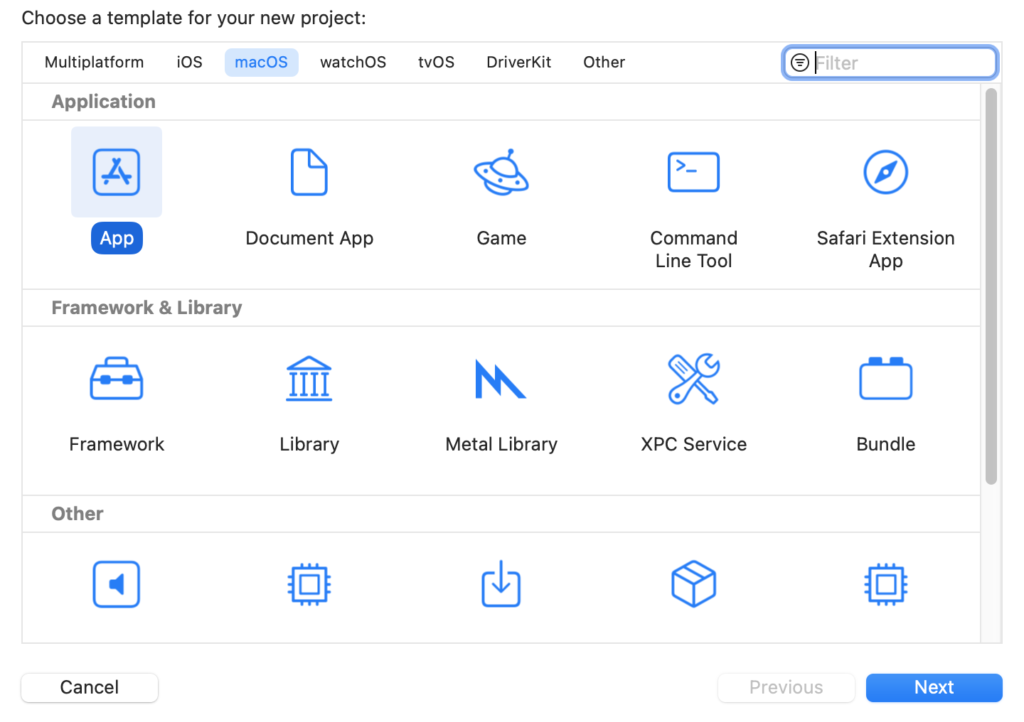
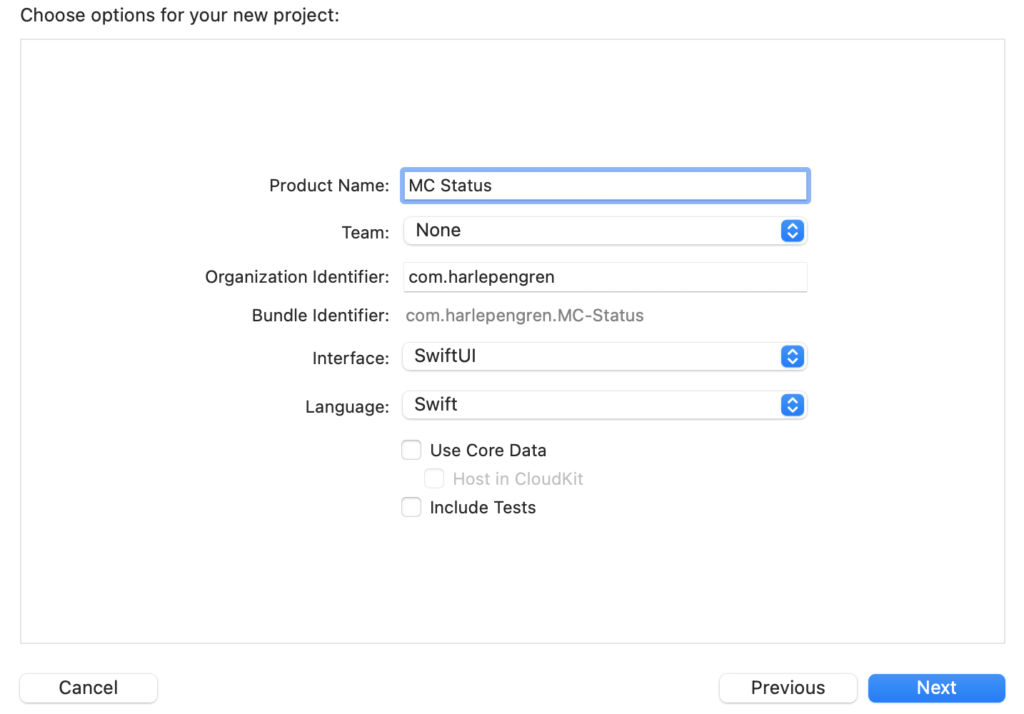
Choose a name for the app. In my case, I used MC Status. Ensure the interface is SwiftUI and the language is Swift.
Choose a location to save the project. Once saved, you should have a screen that looks something like this.

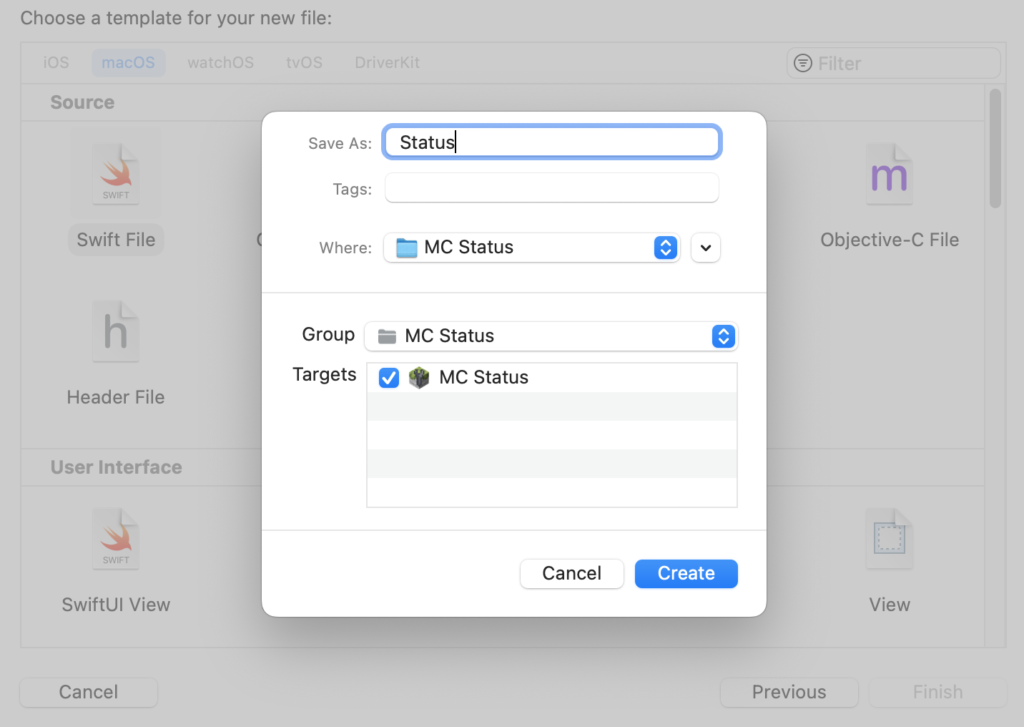
Now that we have the basic project. We need to add a few files.
Generating the Server List
We will start by creating the heart of the app, a class that handles retrieving the AWS status. This class will just be a Swift wrapper that calls the Python functions that we created previously. To do this, we will use PythonKit, which allows us to use Python within Swift.
Here is the code.
import Foundation
import PythonKit

let status = Python.import("ec2status")
var currentStatus = status.EC2Status()

func GetServerStatus() -> [Server] {
    print("Getting server status . . .")
    currentStatus.GetStatus()
    var serverList = [Server]()

    for item in currentStatus.data {
        let currentID:Int = Int(item[0]) ?? 0
        let currentName:String = String(item[2]) ?? ""
        let currentInstanceID:String = String(item[1]) ?? ""
        let currState:String = String(item[3]) ?? ""
        let currentIP:String = String(item[4]) ?? ""
        let tempServer = Server(id:currentID, instanceID:currentInstanceID, serverName:currentName, currentState:currState, ipAddress:currentIP)
        serverList.append(tempServer)
    }

    return serverList
}

func StartServer(serverID:Int){
    print(currentStatus.Start(serverID))
}

func StopServer(serverID:Int){
    print(currentStatus.Stop(serverID))
}
Create a new Swift file called Status.

PythonKit: Importing a Python Module
PythonKit is very easy to use. To import our Python module, ec2status, we simply need to call:
let status = Python.import(“ec2status”)You need to put the ec2status Python file in a path that your Python searches for packages. I found these locations by opening the Python REPL and typing the following:
import sys
print(sys.path)
This will list all of the paths that Python searches for packages. Simply place the file in one of these locations.
Next, we initialize the EC2Status Python class.
var currentStatus = status.EC2Status()PythonKit: Calling Python Functions
Now, we will create three wrapper functions for the equivalent Python functions: GetServerStatus, StartServer, StopServer.
GetServerStatus calls the Python function:
GetStatus()This function uses the AWS API to get a list of the current server instances and the status of each instance.
Next, we create an empty list of type Server (we will create this type in the next section). As a side note, this is poor structure. Both files refer to each other, which is not best practice, but for my purposes, it works.
We then iterate through each server instance in currentStatus.data, create a Server object with the relevant fields, and append to the serverList list. We return serverList.
StartServer and StopServer are really easy. They just call their Python equivalents passing the serverID to start or stop.
func StartServer(serverID:Int){
    print(currentStatus.Start(serverID))
}

func StopServer(serverID:Int){
    print(currentStatus.Stop(serverID))
}
Storing the Data
Now that we have a way to retrieve the data from AWS, we need a place to store it. We will create a structure and a class to handle the storage. In the next section, we will use this data to populate a Table in the UI.
import Foundation

// Structure to store information about an individual server
struct Server: Identifiable {
    let id: Int
    let instanceID: String
    let serverName: String
    let currentState: String
    let ipAddress: String
}

// Class that stores a list of servers
class ServerList: NSObject, ObservableObject {
    @Published var items: [Server]

    override init() {
        self.items = GetServerStatus()
    }

    @objc func updateStatus() {
        objectWillChange.send()
        self.items = GetServerStatus()
    }
}
Server Struct
We create a new Swift file called ServerList. Within this new file, we create a structure called Server. This structure will hold each instance of a server. We make this structure Identifiable, which we will use for the Table that we will create later.
The Server structure includes five variables: a unique ID, the instance ID, the server name, the current state of the server, and the IP address.
// Structure to store information about an individual server
struct Server: Identifiable {
    let id: Int
    let instanceID: String
    let serverName: String
    let currentState: String
    let ipAddress: String
}
ServerList Class
Next, we create a class called ServerList. ServerList will hold a list of Servers and also handle the method of updating the list of Servers. The class inherits from the general NSObject as well as ObservableObject. ObservableObject allows us to tell the Table that the underlying data has changed and needs to be updated.
The class has one variable, items, which is a list of Server structs. This variable includes the decorator @Published, which is used by ObservableObject to track changes. The list is populated through two methods (init and UpdateStatus). Both methods call the same function from Status, GetServerStatus, which returns a list of type Server (see previous section).
In addition, the function updateStatus also includes a line:
objectWillChange.send()This publishes the result to ObservableObject.
Showing the Results
Finally, we need to show the results. We will show the results using SwiftUI, specifically a Table view. In the default project, Xcode already created a file called ContentView with a basic Hello World example. We are going to replace that code. However, I am not a UI expert. Therefore, our UI is going to be very basic.
import SwiftUI

struct ContentView: View {
    @ObservedObject var serverList:ServerList = ServerList()
    @State private var selectedServer = Set<Server.ID>()

    var body: some View {
        VStack(alignment: .leading){
            Text("Minecraft Server Status")
                .font(.title)
            Table(serverList.items, selection: $selectedServer) {
                TableColumn("Instance ID", value: \.instanceID)
                TableColumn("Name", value: \.serverName)
                TableColumn("Current State", value: \.currentState)
                TableColumn("IP Address", value: \.ipAddress)
            }

            HStack(){
                Button("Update Status"){
                    serverList.updateStatus()
                }.padding(.all, 40.0)
                Button("Start"){
                    print("Start server")
                    for currentServer in selectedServer {
                        StartServer(serverID: currentServer)
                    }
                    serverList.updateStatus()

                    serverList.perform(#selector(serverList.updateStatus),with:nil,afterDelay: 60)
                }
                Button("Stop"){
                    print("Stop server")
                    for currentServer in selectedServer {
                        StopServer(serverID: currentServer)
                    }
                    serverList.updateStatus()

                    serverList.perform(#selector(serverList.updateStatus),with:nil,afterDelay: 60)
                }
            }

        }
    }
}

struct ContentView_Previews: PreviewProvider {
    static var previews: some View {
        ContentView()
    }
}
First, we will create two variables. serverList will hold our list of server instances. We add @ObservedObject decorator to tell the view that this variable may change, and the table should be updated if it changes.
The second variable, selectedServer, keeps track the selected rows in the table.
User Interface Layout
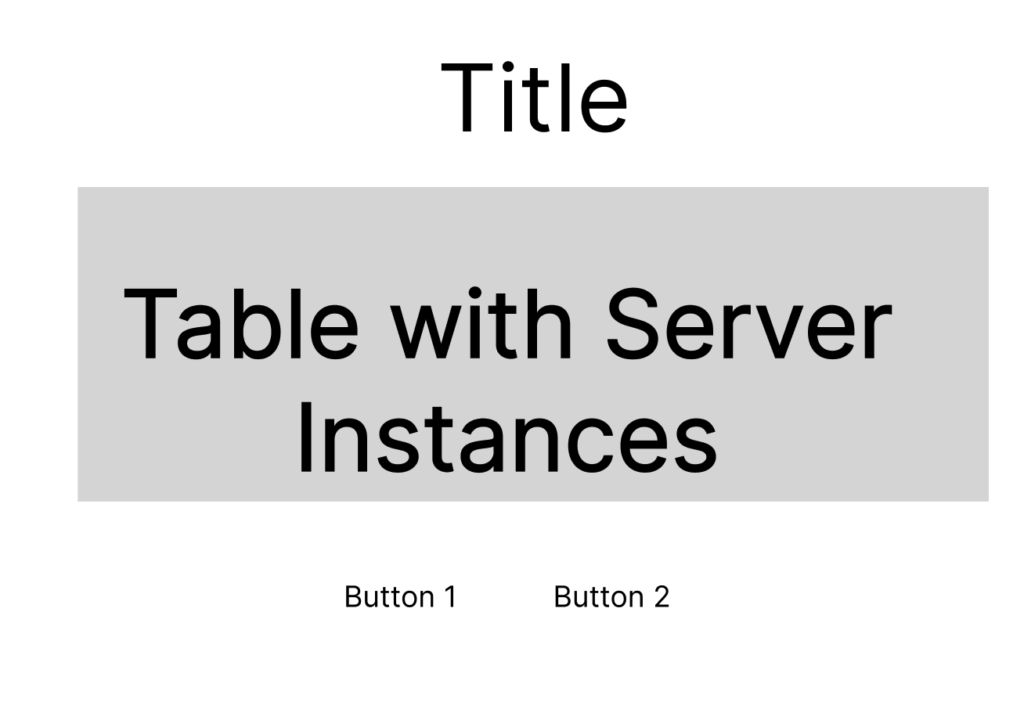
The next section describes the body of the ContentView. The layout is fairly simple. We use the following three areas:
- App Title
- Table with server instances
- Buttons
Creating a Table
The first two areas are structured using a vertical stack (VStack) split into two sections. One section includes the title of the app, and the second section represents the table.
VStack(alignment: .leading){
            Text("Minecraft Server Status")
                .font(.title)
            Table(serverList.items, selection: $selectedServer) {
                TableColumn("Instance ID", value: \.instanceID)
                TableColumn("Name", value: \.serverName)
                TableColumn("Current State", value: \.currentState)
                TableColumn("IP Address", value: \.ipAddress)
            }
The Table takes two parameters, the data, which in our case is stored in serverList.items, and the variable that holds the selection, selectedServer). We create 4 columns and associate the columns with the relevant variables in the Server structure.
Adding Buttons
In the bottom section, we use an HStack to align three buttons: Update Status, Start, and Stop. Each button calls the relevant method in the ServerList Class.
HStack(){
                Button("Update Status"){
                    serverList.updateStatus()
                }.padding(.all, 40.0)
                Button("Start"){
                    print("Start server")
                    for currentServer in selectedServer {
                        StartServer(serverID: currentServer)
                    }
                    serverList.updateStatus()

                   serverList.perform(#selector(serverList.updateStatus),with:nil,afterDelay: 60)
                }
                Button("Stop"){
                    print("Stop server")
                    for currentServer in selectedServer {
                        StopServer(serverID: currentServer)
                    }
                    serverList.updateStatus()

                   serverList.perform(#selector(serverList.updateStatus),with:nil,afterDelay: 60)
                }
            }
In addition, in the Start and Stop buttons, we include the function perform, which calls UpdateStatus after a delay (60 seconds in our case). This will allow us to show the “pending” status immediately after clicking and then running or stopped after 60 seconds. The function requires an objective C function as a selector, which is why we added the @objc decorator before the updateStatus function in our ServerList class.
Conclusion
There is obviously an more direct way to implement this. Amazon has a Swift API. However, I am much stronger in Python than in Swift. Therefore, I chose to stick with our Python API.
The next step in our Minecraft development will be to create a web server on our Minecraft server that will allow us to start and stop the minecraft server using particular settings. My children want the ability to upload worlds and add plugins to the server.