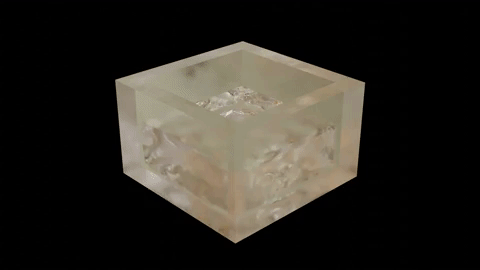
I enjoy creating simulations in Blender because I can make a realistic looking animation without the skills of an animator. However, the interaction of fluid and rigid body simulations is challenging. Currently, fluids can be influenced by the movement of rigid body objects, but the opposite is not true. You cannot affect rigid body objects with a fluid. For example, if you have a wave headed toward a box, the water will flow around the box regardless of the density of the box. Additionally, if you drop an object in fluid, the fluid will not slow the object on impact. In this post, I am going to show my workflow for creating a rigid body and fluid simulation that appear to interact with each other.
Create the rigid body simulation
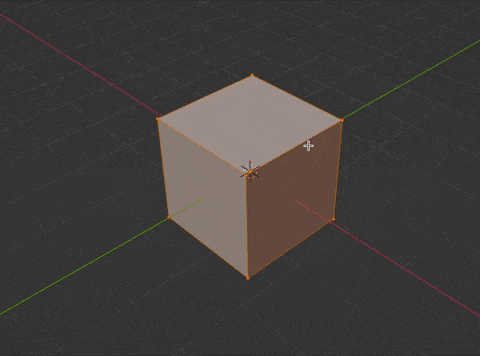
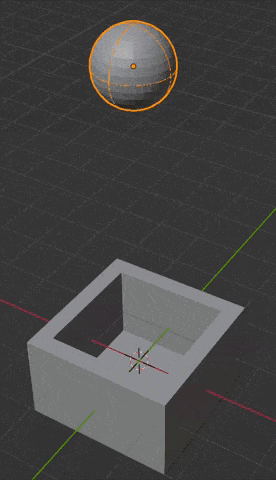
In my simple example, I am going to drop a 15 kg ball into a liquid. I turn the default cube into an open top box. My simple technique is to grab the top vertices, press e to extrude and s to scale. Then I move inward. Press enter. Next I press e and z to constrain to z axis and a pull down. I like this method, because it creates sufficient walls to the box to contain the liquid.
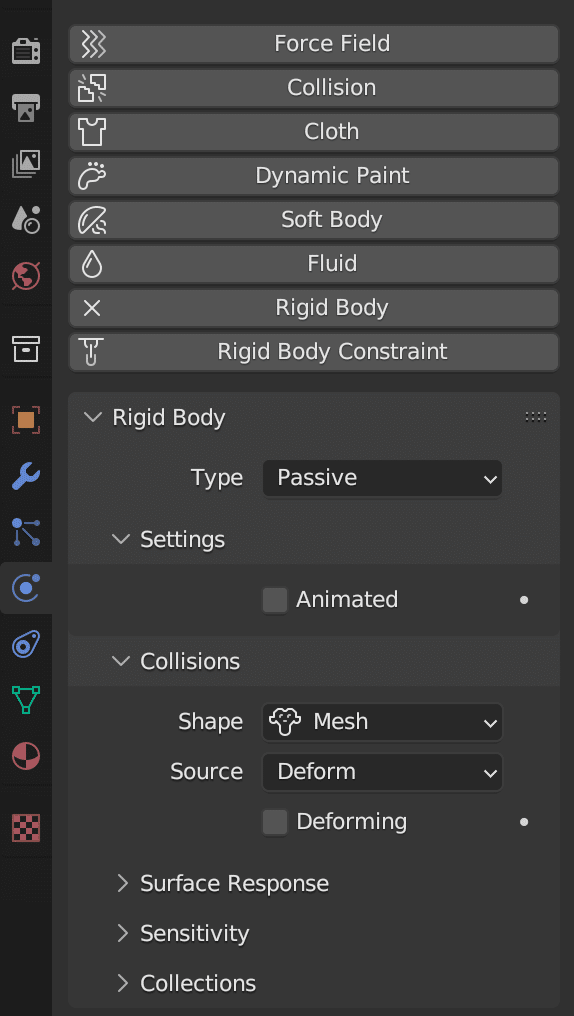
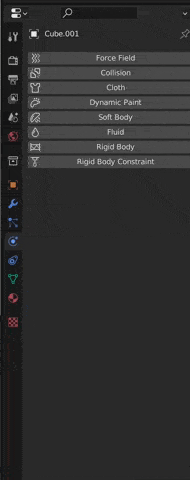
In the physics panel, select rigid body and set the following settings:
- Type: Passive
- Shape: Mesh
Add a sphere and position above the box. Make sure to check all directions. In writing this post, I took the time to run the simulation and rendered only to find that the sphere missed the box.
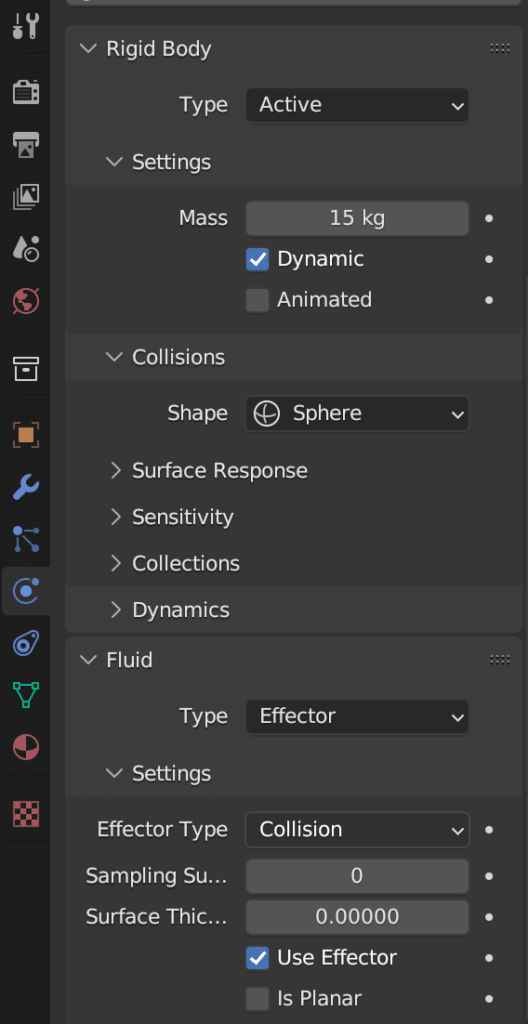
In the physics panel, add rigid body and set the following settings:
- Type: Active
- Mass: 15 kg
- Shape: Sphere
Go ahead and add a fluid effector to this sphere. This is good practice particularly where you will be using many duplicated objects. If you forget, no worries, see below for a script to add to the objects.
Before you run the simulation, select the cube a sphere and press Ctrl-A and apply scale. If you don’t do this, the simulation may have unpredictable results. See previous post on rigid body problems. Next, we will bake the simulation. Go to scene properties panel->rigid body->cache->Bake all dynamics. For our simple simulation, the baking is fast. For a simulation with more objects, this will take longer.
Bake to Keyframes
Now that we have the simulation, we will bake to keyframes. Select the objects that you want to convert into keyframes and click: Object->Rigid Body->Bake to keyframes.
Once the keyframes are baked, you can adjust. I am going to adjust in two ways. First, the ball rolls a little after it hits the bottom of the container. I want the ball to just land. Second, I want to slow the descent as soon as it hits the water. In my case, the ball is 15 kg, which is pretty dense, so the slowing will be minimal. I can solve both problems the same way.
First, I will note the keyframe when the ball first hits the water. I will then note the keyframe where it lands. I will delete all keyframes after it lands, and all keyframes between touching the water and landing.
In the animation tab, select the keyframes and press x. You can use the same selection techniques as in the 3D view (e.g., box select with b, circle select with c).

Now, I will move the landing frame to the right by one or two frames. You can visibly see that the ball slows. We can adjust this further once we have the fluid simulator.
Fluid Simulation Components
Next, we are going to add the liquid simulation components.
The Fluid Domain
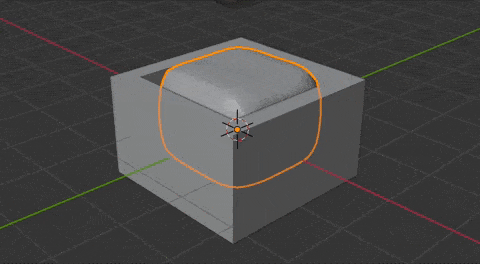
First, add a cube and scale it up to include the sphere and box inside. I like to rename it to cube. Apply the scale (Ctrl-A apply scale). Next, I like to add a subdivision surface modifier to smooth it.
Next, in the physics panel, select fluid with the following settings:
- Type: Domain
- Domain Type: Liquid
- Resolution: 128 (more is better, but it is a tradeoff with bake time)
- Enable Mesh
- Set your cache location
- Set the Cache type to All (this will cause the bake button to appear).
Add the Fluid
Now we will add the fluid. Add a cube and scale it so it fits within the container. Make it slightly smaller than the container. Set this to fluid flow. Press Ctrl-A apply scale to apply the scale.
Physics Panel->Fluid with the following settings:
- Type: Flow
- Flow Type: Liquid
- Flow Behavior: Geometry
Fluid Effectors
Next, add fluid effectors to both the container and the sphere (if you haven’t already done so).
Physics Panel->Fluid
Type: Effector
I leave the other settings at default and only change if the behavior doesn’t look right.
If you have many rigid body objects and you forgot to add the fluid effector, no worries. I have done that, and based on that experience, I created this script to handle. I will not go into detail how this script works, but if that is of interest, let me know in the comments.
import bpy

targetMod = "Fluid"

def copyMod():
    active_object = bpy.context.object
    selected_objects = [o for o in bpy.context.selected_objects
                        if o != active_object and o.type == active_object.type]

    sourceMod = active_object.modifiers.get(targetMod)
    if not sourceMod:
        return

    for obj in selected_objects:
        # Check whether the modifier exists
        destMod = obj.modifiers.get(targetMod)

        if destMod:
            # Delete the current modifier
            obj.modifiers.remove(destMod)

        destMod = obj.modifiers.new(targetMod, sourceMod.type)

        # collect names of writable properties
        properties = [p.identifier for p in sourceMod.bl_rna.properties
                      if not p.is_readonly]

        # copy those properties
        for prop in properties:
            setattr(destMod, prop, getattr(sourceMod, prop))

        # now we need to copy the effector settings
        if sourceMod.effector_settings != None:
            effect_properties = [p.identifier for p in sourceMod.effector_settings.bl_rna.properties
                                if not p.is_readonly]

            for prop in effect_properties:
                setattr(destMod.effector_settings, prop, getattr(sourceMod.effector_settings, prop))

            # If this is not a domain change display to textured
            obj.display_type = "TEXTURED"

copyMod()
Eventually, we will add particles, but I like to bake the simulation and see that it is working correctly before I complicate the bake.
Bake (and then Bake again)
Now we start the bake and adjust process. This part requires time and patience. We will bake and then adjust the settings until you are happy with the appearance.
After you are done baking, you can hide the geometry that you used for the flow.
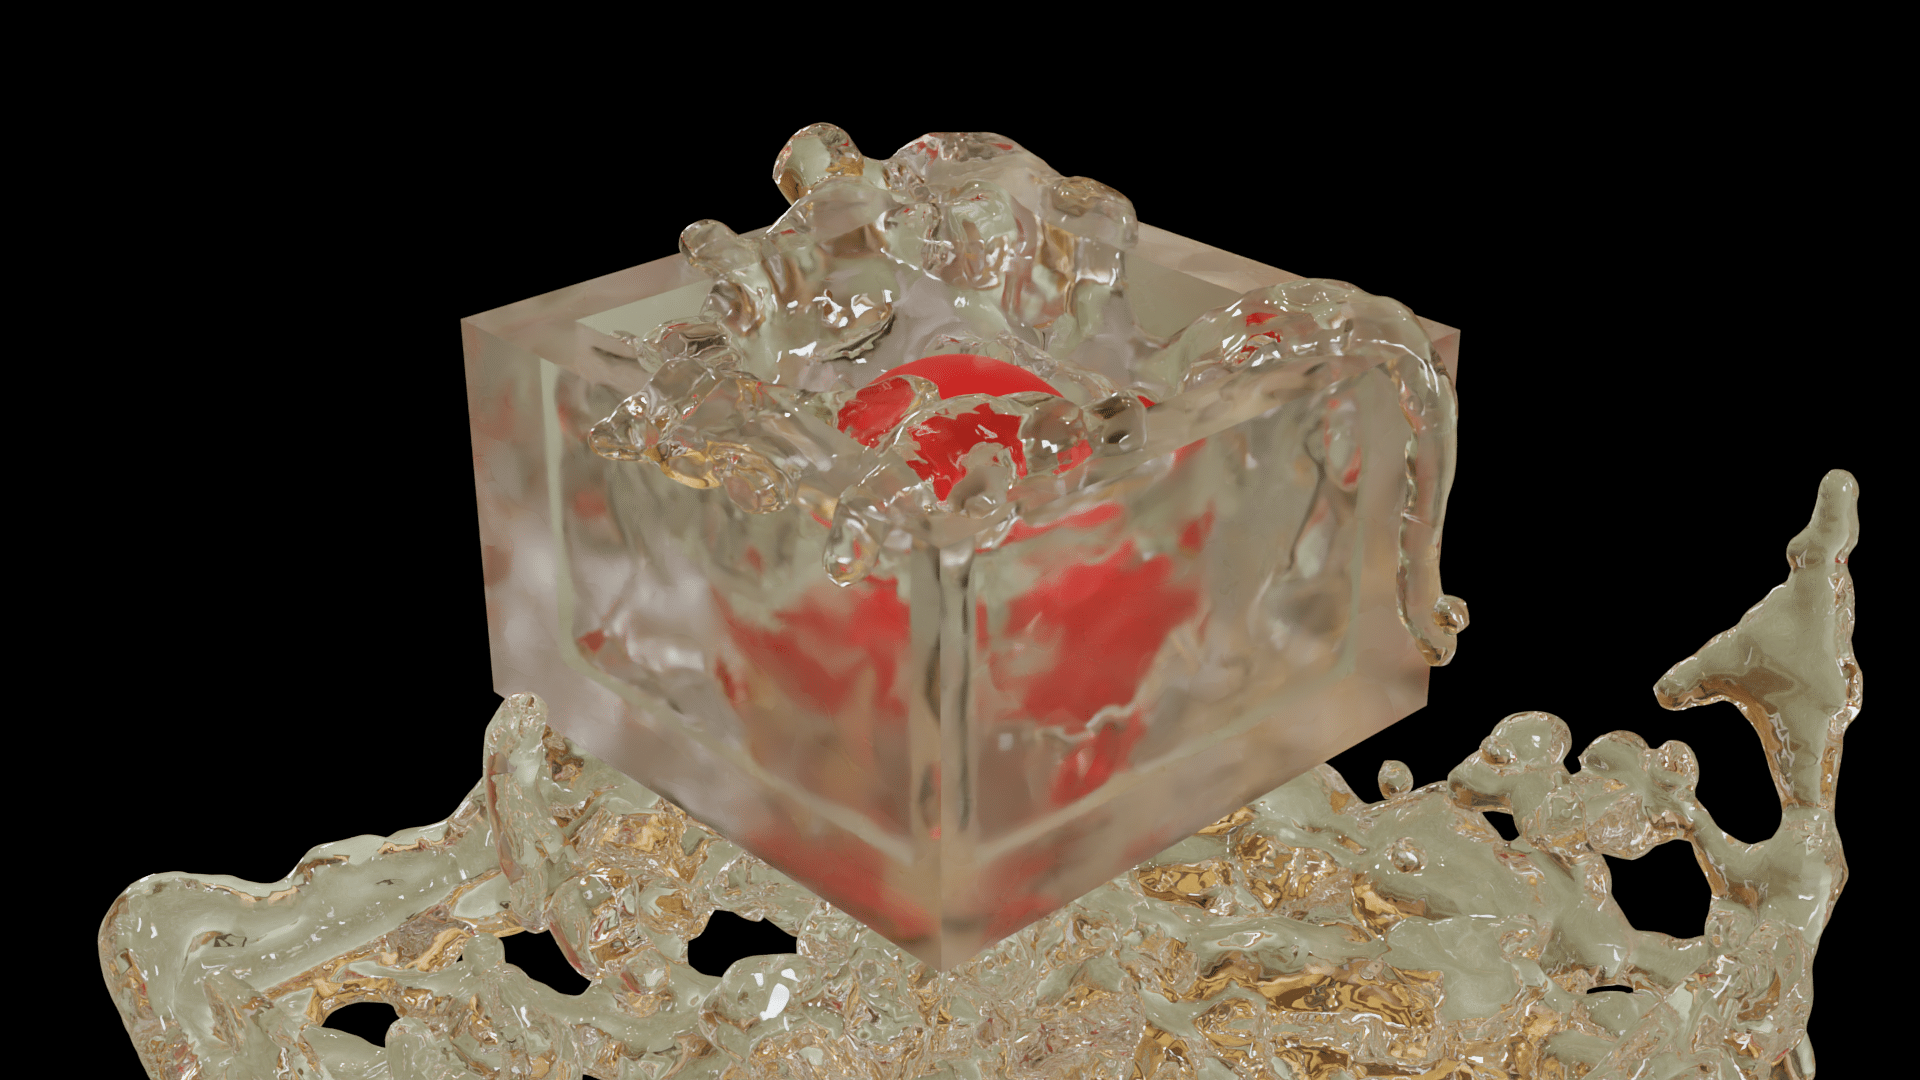
Bigger Splash
Now that we have the basic settings. In the domain settings, we are going to make a few adjustments:
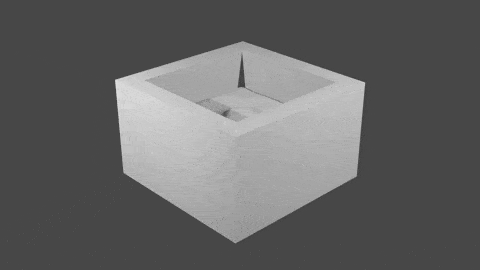
- Enable Fractional Obstacles: In the image above, notice that there is a little displacement, but very little splash.
- Particle Radius: My simulation appear to leak fluid, so I increased the particle radius.
- Velocity: You may need to increase the velocity of the ball (squeeze the start and end frames closer together).
- Enable Spray + Bubbles Particles
Bake to perfection (or at least until you are too tired to bake any more)!
Conclusion
Hopefully, you found this helpful. If so, leave a like. Also, let me know if there are any other simulation topics you would like to see.