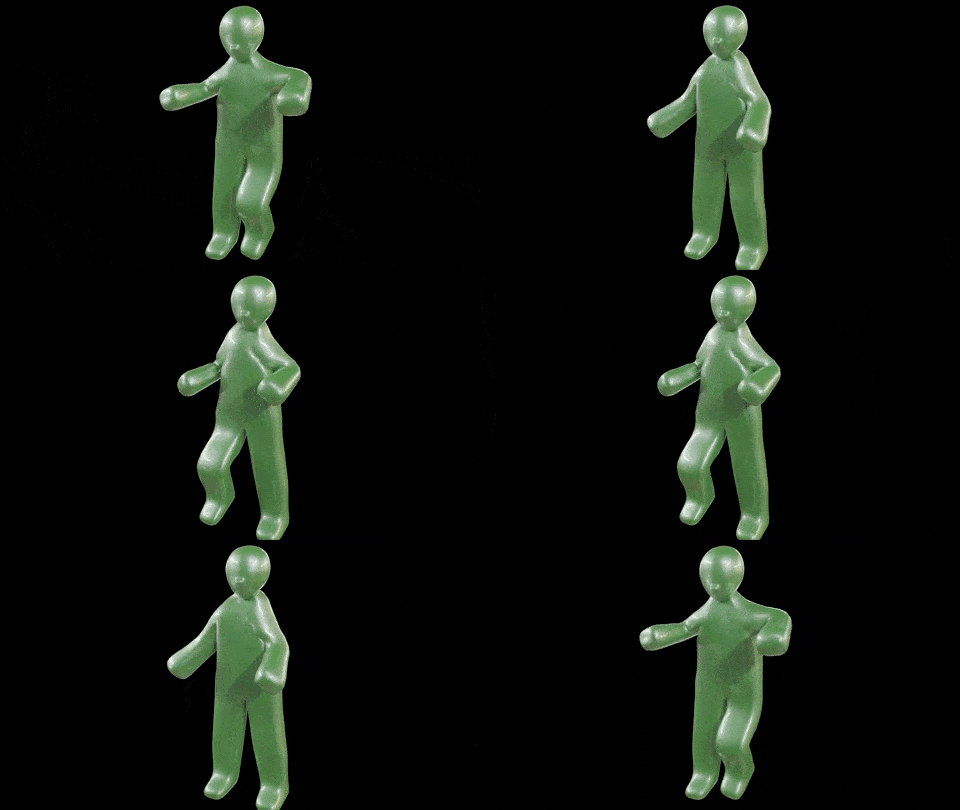
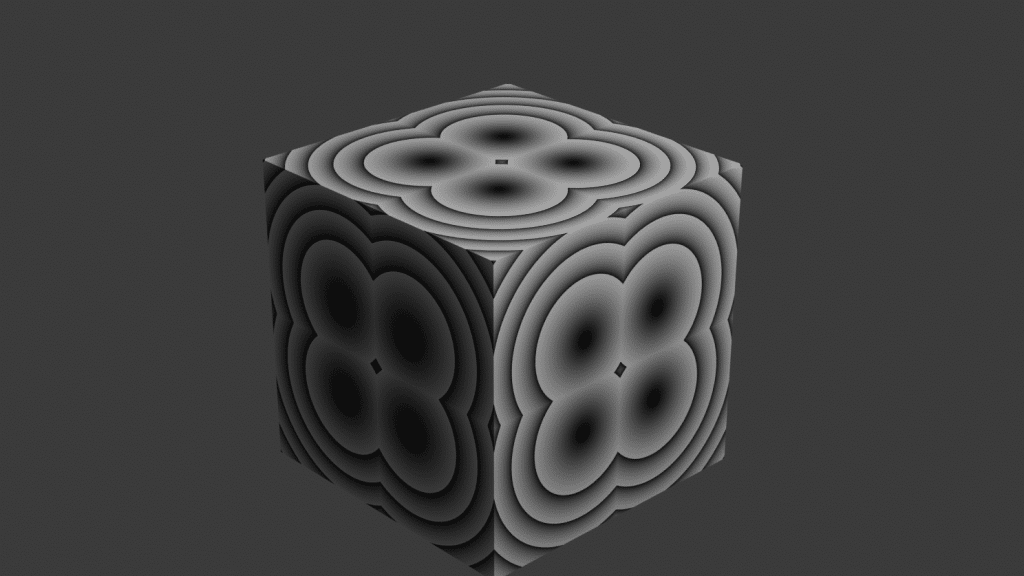
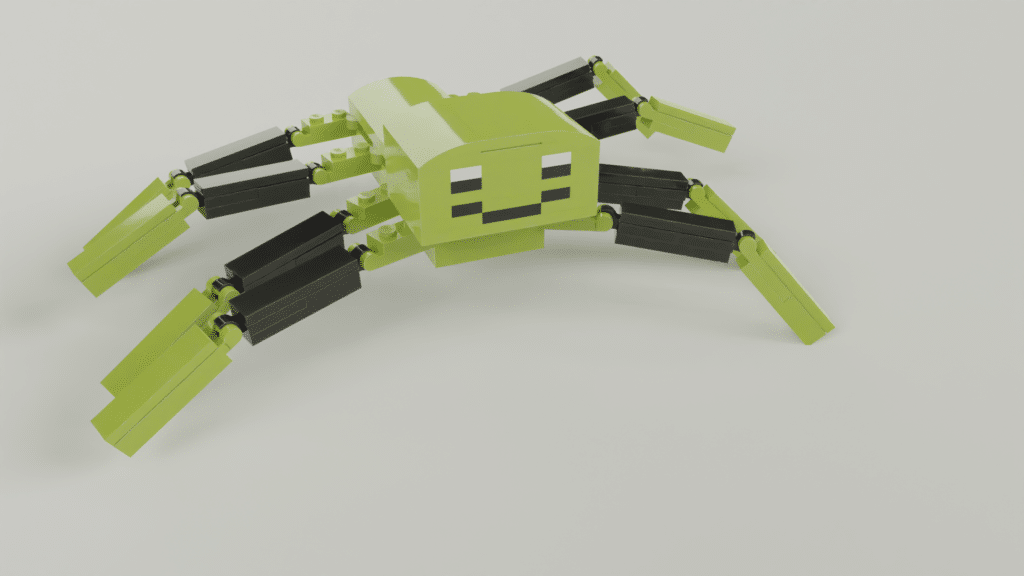
In a previous post, we made an Open Shading Language (OSL) shader for a slimy alien skin. Obviously, we wanted to create an alien animation to try it. Several years ago, I made a YouTube tutorial walking through the basic steps for creating a model rig in Blender. It still holds up (although the Blender UI has changed). I thought it would be useful to create a post with the key steps. Sometimes, you just need a quick reminder of the steps instead of watching a whole video.
This post covers the following:
- Rigging Basics
- Create the Armature
- Inverse Kinematics
- Apply the Armature to the Mesh
- Add the Open Shading Language Material
Starting Files
For this tutorial, I am using a really basic model that I created that you can get from our downloads page or direct link.
I will also be using the alien skin OSL texture that is available in our GitHub repository.
Rigging Basics
A character rig or mesh rig is basically a tool that is used to simplify animating a model. Instead of moving individual vertices for each keyframe, you move “bones” that are attached to the mesh. Much like the way humans move their bones and the attached skin moves with it.
To create a character rig, we create what is known as an armature. This is basically a bunch of bones that have some relationship to each other. We will then associate the mesh with various bones. Each vertex on the mesh will have different weights to the bones. Every time the bone moves, the mesh will move (depending on the weight). Heavy weight means the mesh will move as much as the bone. Light weight will mean the mesh moves with the bone, but barely. No weight means when the bone moves, the mesh doesn’t move.
We will also use something called inverse kinematics. Inverse kinematics is a way to simplify several bones moving together. For example, if you move your feet up and down like you are marching, several bones move at once. Obviously, your foot moves, but so does your calf and your thigh. In addition, your knee bends. If the bones were a simple parent child relationship, moving the foot up would move everything up. Inverse kinematics let you define a relationship among bones and then move the bones somewhat more naturally.
[GIF of marching bones]
Creating the Armature
Adding an armature to a model is very easy. We will start by adding the bones. To add the first bone, press shift-A and select Armature.
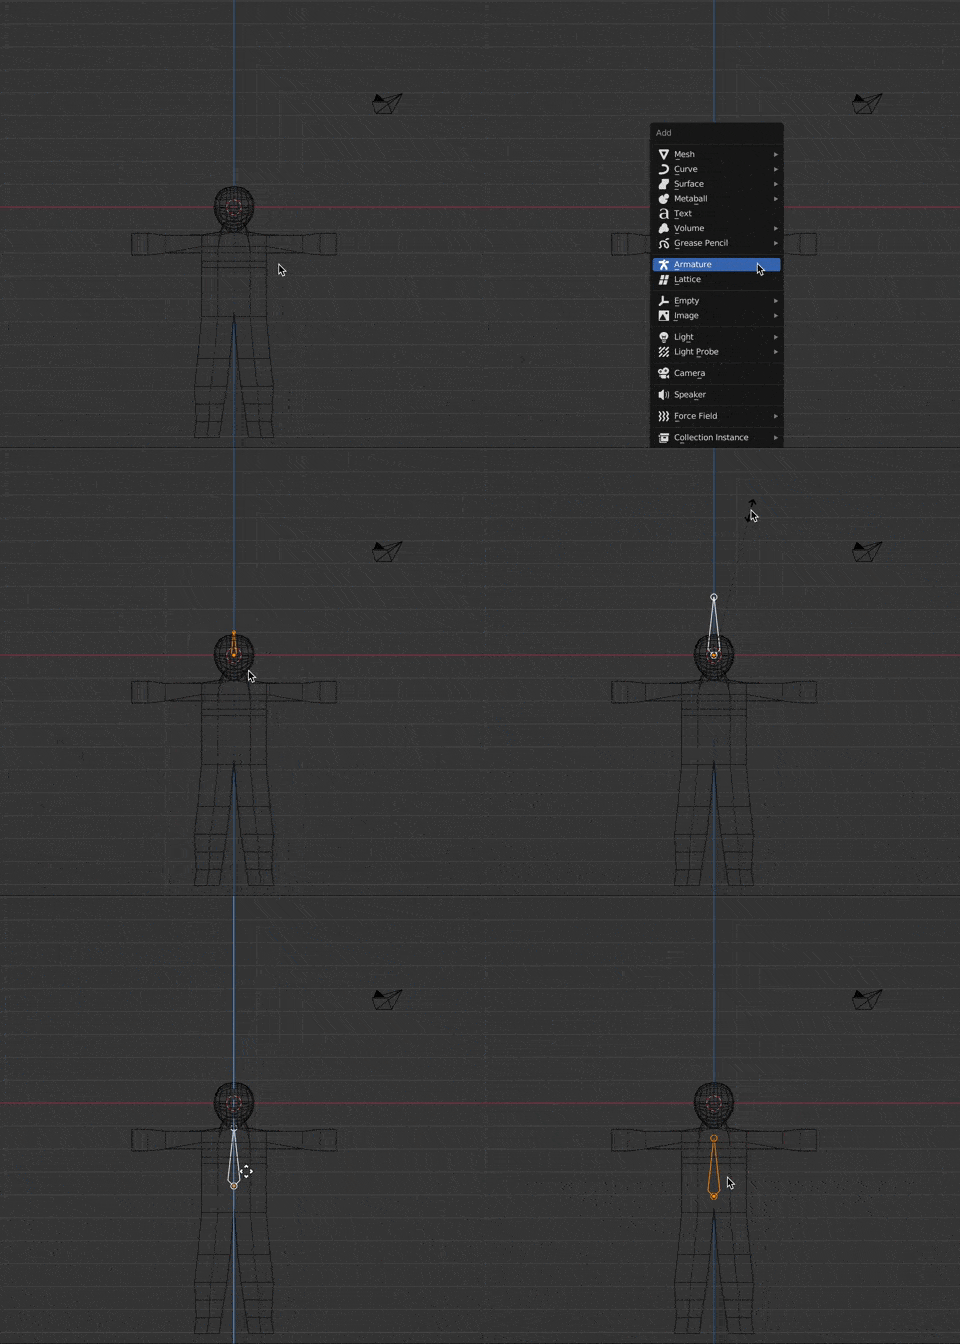
This will add your first bone to the scene. I like to use this as the middle bone of the body. I press tab to enter edit mode. I will select the top circle and extrude up to create the neck bone and then extrude again to create the head bone.

Add Arms and Legs
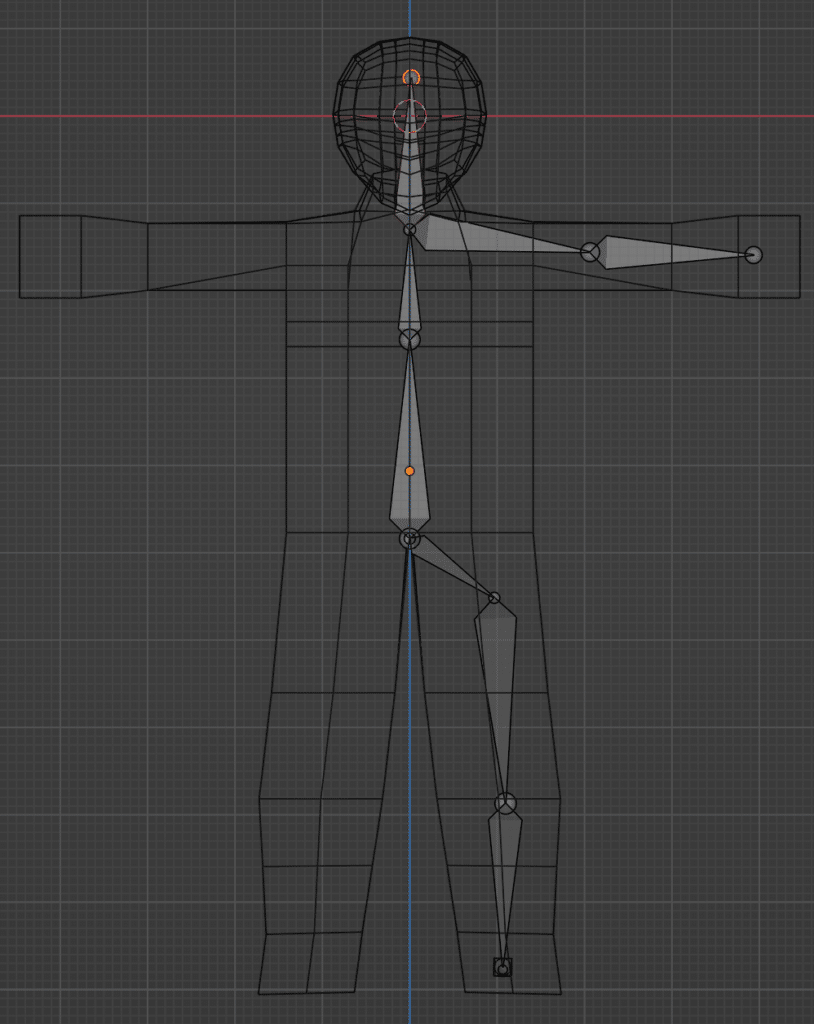
Press shift-A in edit mode to add another bone. Move it to the upper arm. Extrude to create the lower arm. Do the same with the leg. Finally, extrude the bottom leg out to make a foot.
Adding IK Bones
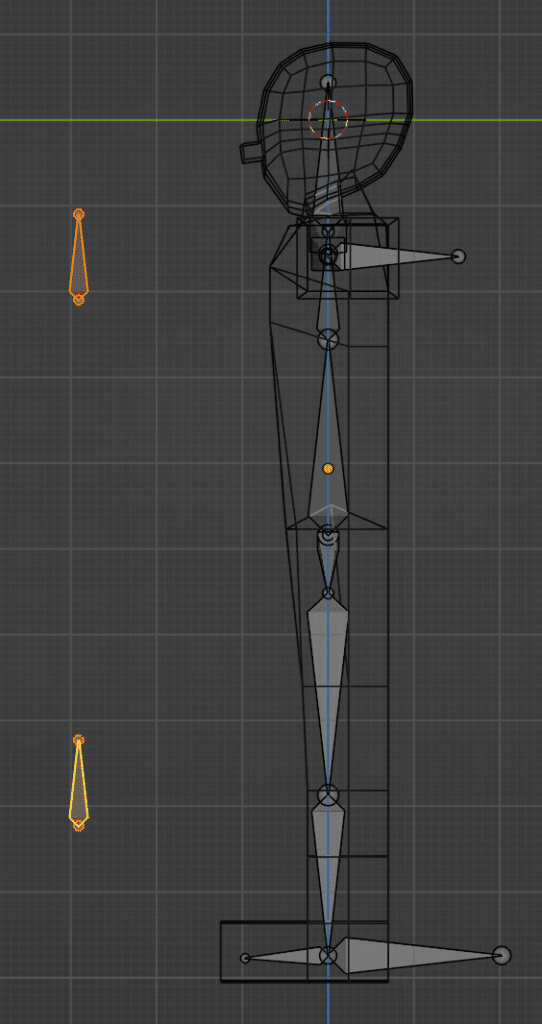
Next, we will add bones that we will use for the inverse kinematic. Select the tip of the lower arm bone and and back of the foot and extrude backward (in the y direction). Select each of these bones and then in the bone tab (relations), remove the parent. The reason is that we want these to move the arm and leg bones, we don’t want the opposite. We don’t want the arm bones to move this bone.
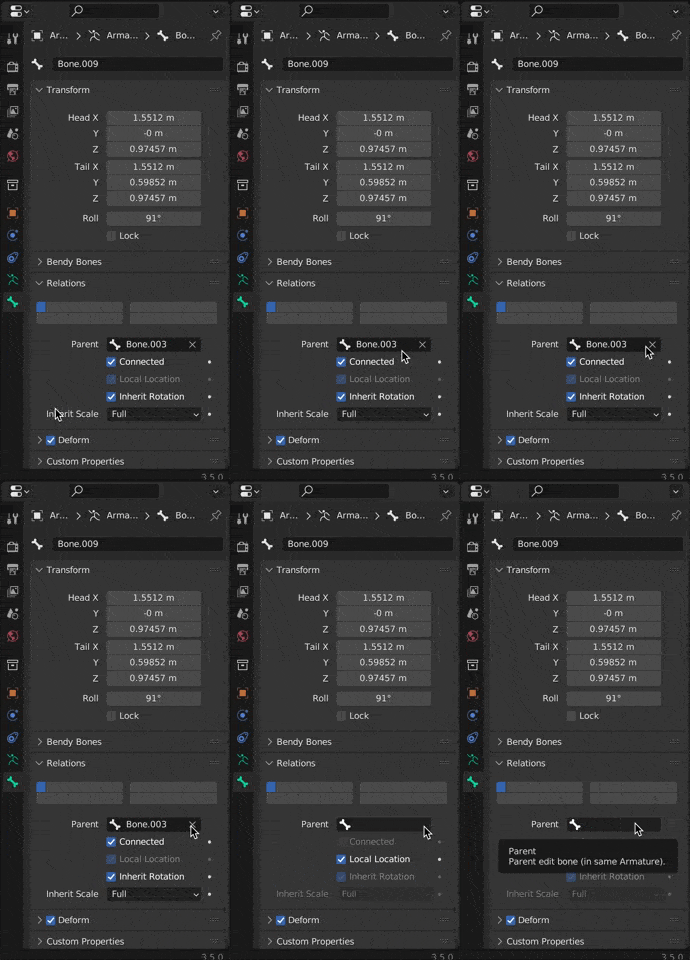
In addition to removing the parent, uncheck the deform checkbox for both of these. We don’t want any mesh to be associated with these bones.
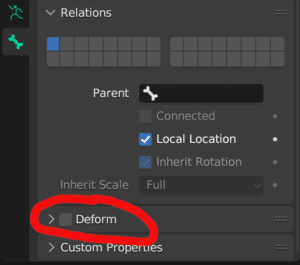
Next, we will add knee and elbow “pull targets”. These are bones that we use to adjust the look of the knee and elbow. Simply add a bone and place it level with the knee and in front of the knee. Do the same with the elbow. Again, ensure the bones do not have a parent and uncheck the deform checkbox.
What’s In the Name of a Bone?
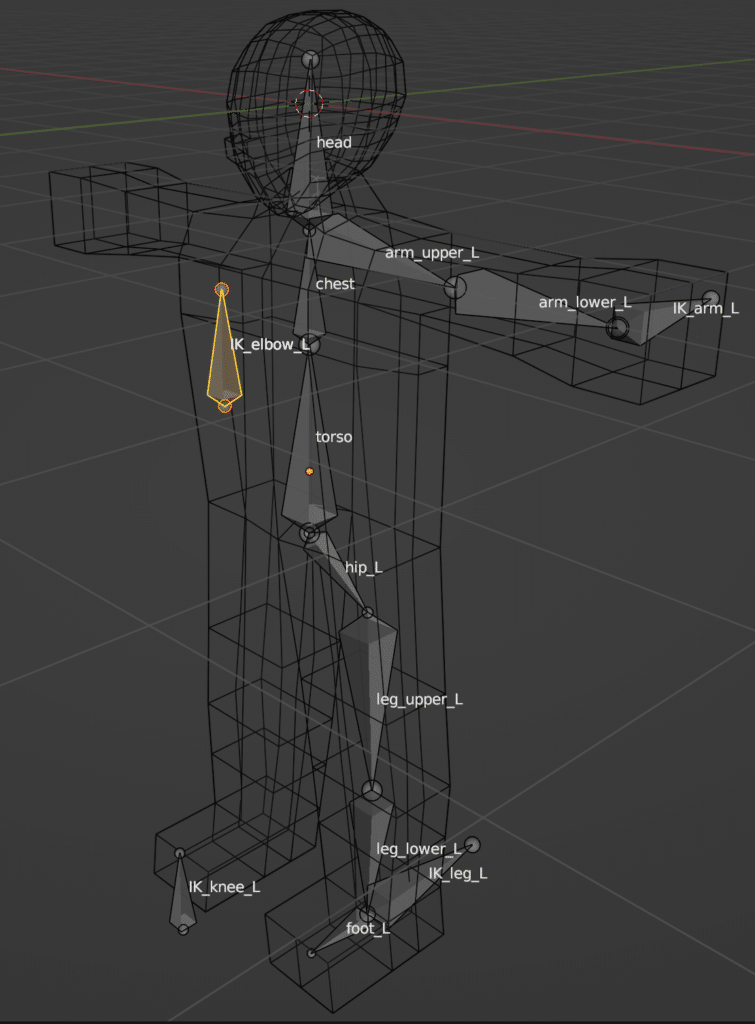
Now that we have our basic bones, we will name the bones. This will make them easier to work with than trying to remember “what does bone.008 do?”
In armature, click “Names”, which will turn on all of the names of the bones. Now for each bone, change the name. We will use a specific name convention for the arm and leg bones that will make sense in a minute. For example, we will name the upper arm “arm_upper_L” and “IK_hand_L” for the IK hand bone.
One Bone to Rule them All: Inverse Kinematics (IK)
Next, we will add inverse kinematics. Let’s start with the leg. Select the foot IK (IK_foot_L) and then the lower leg bone (leg_lower_L). Switch to pose mode. Press ctrl-shift-c and select “Inverse Kinematics”. Alternatively, in the bone constraint panel on the right, you can click the “Add Bone Constraint” dropdown and select Inverse Kinematics.
We will add the knee pull target. In the Pole Target box, select armature. A bone box will appear. Select IK_knee_L.
In the chain length box, I will set it to 2. This means there are two bones that are affected by the inverse kinematics. Change this to different values depending on the number of bones you want to affect. In addition, you can set it to 0 if you want all bones to be affected. In this case, we do not want all bones to be affected.
Since we are in pose mode, you can give it a test.
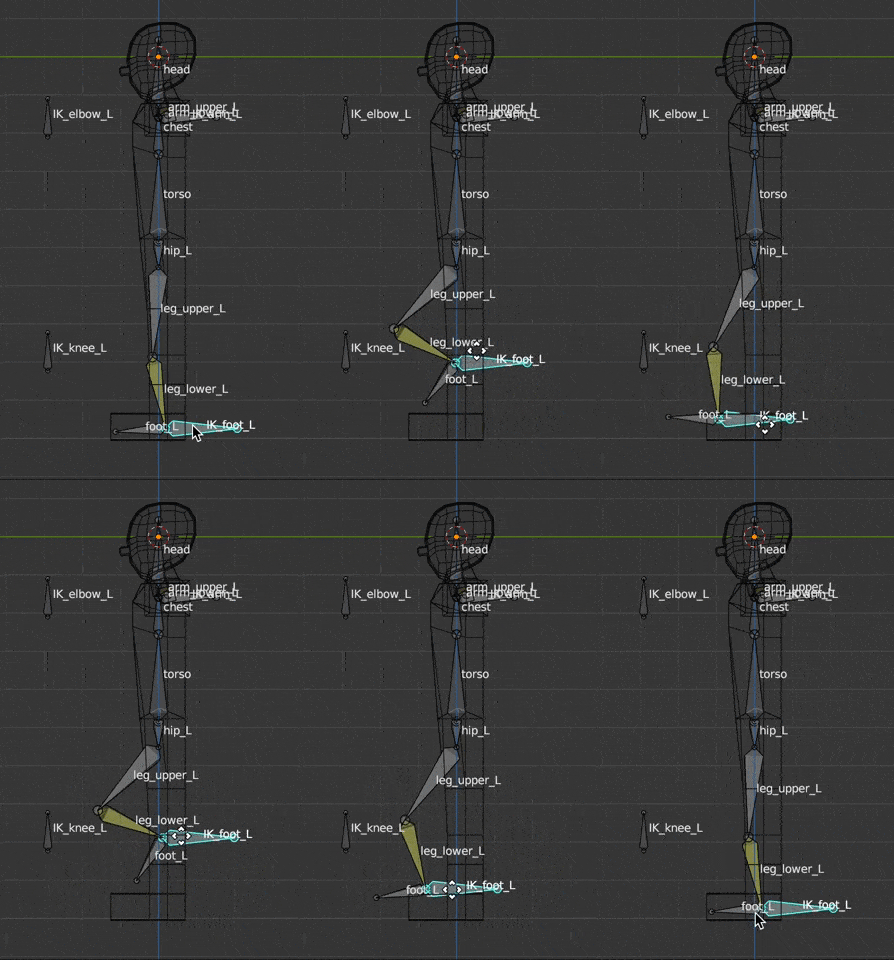
You can do the same for the arm bone. In my case, when I added the arm IK constraints, it didn’t quit work properly. You can modify the rotation in the constraint tab and that should fix any problems.
Pull Target Shapes
There is a visual convention used for pull targets (and other parts of rigging). This helps the animator to know the purpose of the bone. In particular, pull targets are typically spheres so you know that these only affect rotation.
Switch to object mode and add a sphere (shift-a, mesh->sphere). In the scene panel, click both the eye and camera so the sphere is hidden in the viewport and also doesn’t render.
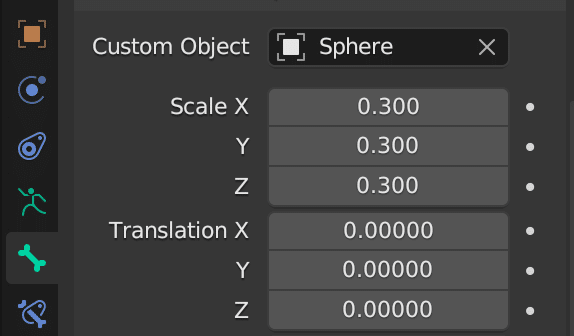
Now click the armature, and go back into pose mode. Select IK_elbow_L and in the bone panel, change the Custom Shape Custom Object to the sphere. You will probably want to scale down all three dimensions.
Do the same for the IK_knee_L.
Duplicate the Bones
Now, we could create the right side of the armature the same way as the left, but there is an easier way. Switch back to edit mode and select the arm and leg bones.
Press . and then select “3D Cursor”. From the armature menu, click Symmetrize. This will duplicate and flip the bones, including all of our work with the IK bones (to check make sure you flip over to pose mode).

Apply the Armature to the Mesh
Now that we have our bones, we need to connect the bones to the mesh. In object mode, select the mesh and then the armature. Order of selection matters. Press ctrl-P (this is the shortcut for parenting). Select Armature Deform with Automatic Weights. This will associate the mesh with the armature bones based on how close vertices in the mesh are to the bones.
If you want to see what this looks like, select the mesh and change to weight paint mode. Now in the Vertex panel on the right, you can select different vertex groups (that were automatically created) and you can see the weights change for each. Blue means the mesh is not affected at all. Red means it is highly affected. The colors in between (yellow and green) mean somewhat affected.
Click the armature and go into pose mode. Now we can see if it worked.
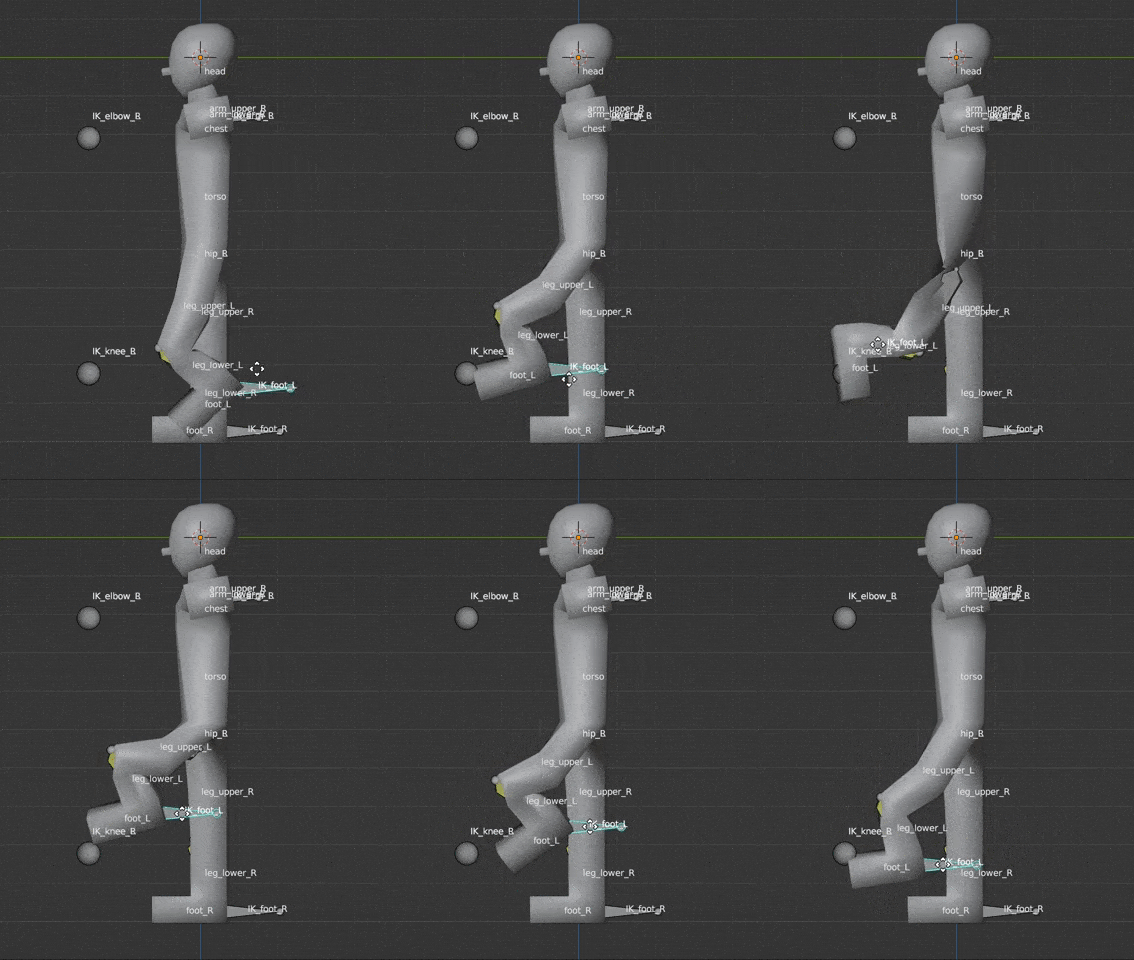
If there are any parts of the mesh that don’t look right, you can always go into weight paint, select the relevant bone in the vertex groups, and adjust the painting. In my case, I am happy with the default painting (for now).
Strike a Pose
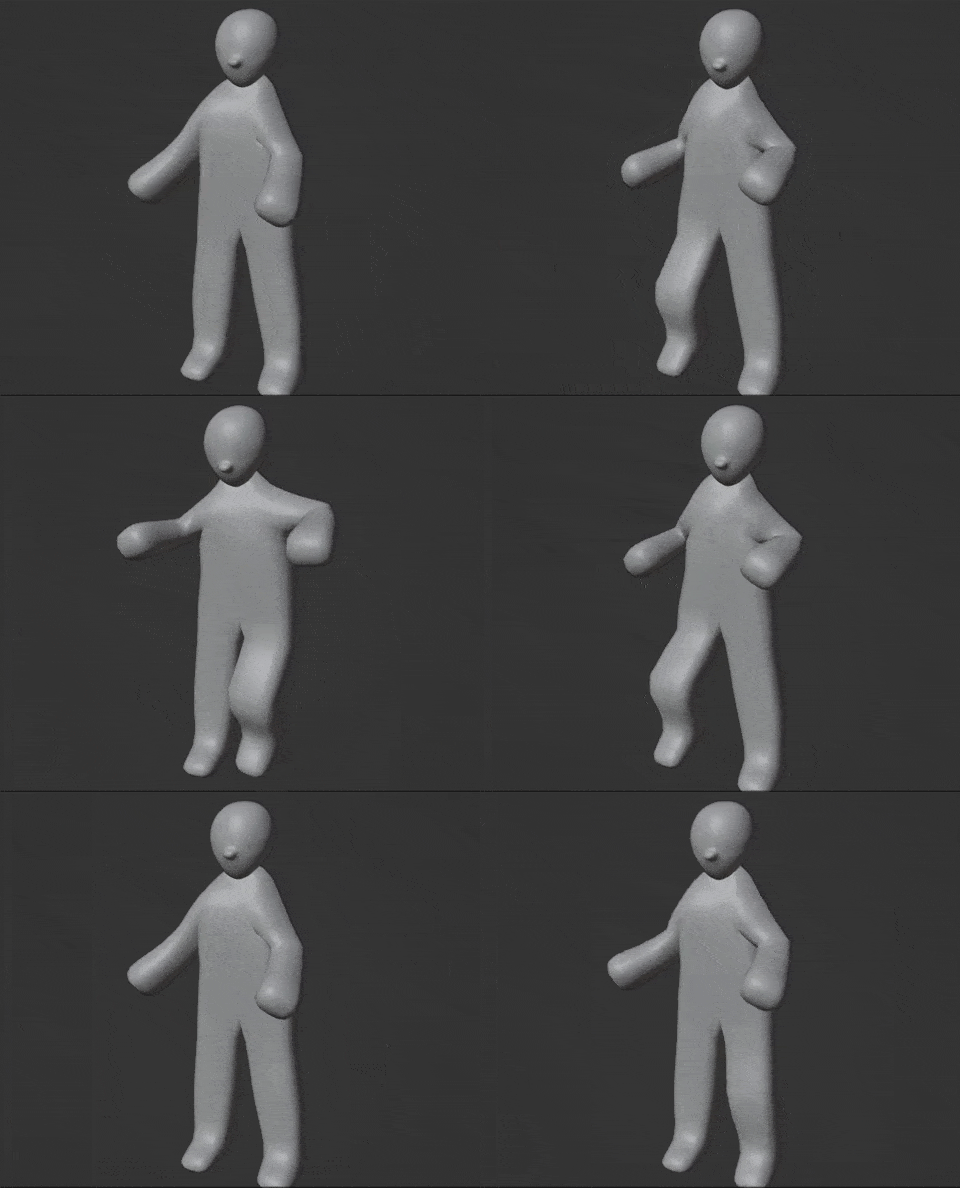
With our armature applied, we can now create some poses and dance moves. I will save the complex animation system for a future post.
Adding the Alien Skin Texture
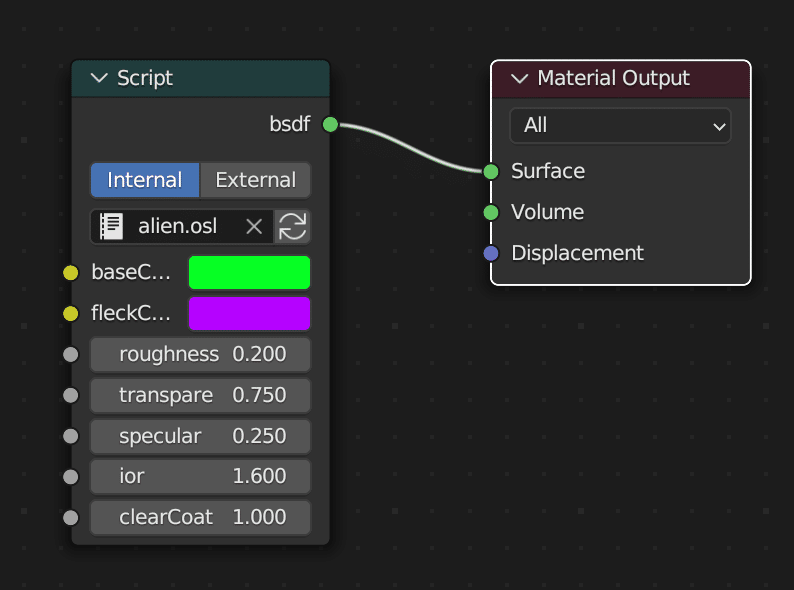
If all you wanted was to understand how to rig a model, you can stop here. For our purposes, we are going one step further. We want to add our Open Shading Language alien skin texture to the model. In the script tab, open the alien skin OSL script. In the render properties, make sure to change the render engine to Cycles and click the Open Shading Language checkbox.
Finally, in the materials tab, click the slot drop down and delete all of the existing materials. Create a new material with just a script node and material output. In the script node, select the alien script. Choose the colors that you want for the base colors and the flecks. Connect BSDF to surface and render.
Conclusion
As the YouTube video title says, you can easily add a rig in less than 6 minutes. I have found this method to be incredibly helpful when I just want a simple animation. Although we show the rig on a humanoid model, you could apply to anything (e.g., if your alien has more or less legs). You simply need to create the additional bones and decide where your IK bones should be.
If you found this post useful, please like this post or leave a comment.
