Now that we have our basic PicoGame engine running, I wanted the ability to load different games on the system. Therefore, I decided to add an SD card reader and create a basic menu and game loading script. The full code is available in our Github repository.
SD Card Reader
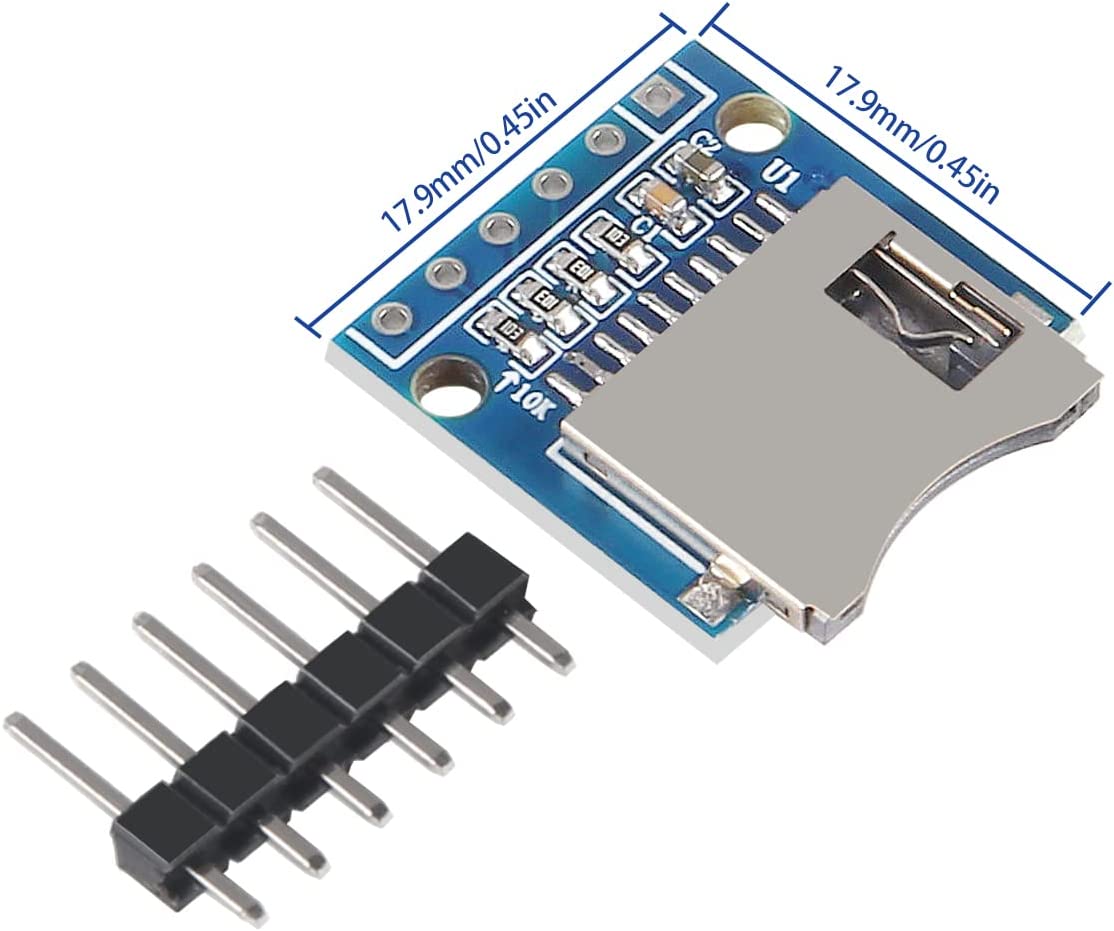
Adding an SD card reader was significantly easier than I expected. Here is the microSD card reader that I used.

Wiring the SD Card Reader
The SD card is based on the Serial Peripheral Interface (SPI). In addition to the input and ground voltage, the card reader has four wires:
- Clock: synchronizes the controller (Pico) and peripheral (card reader)
- MISO: Controller in peripheral out – sends data from the peripheral to the controller
- MOSI: Controller out peripheral in – sends data from the controller to the peripheral
- Chip Select: Used to select which peripheral we are communicating with when there are multiple peripherals
The Raspberry Pico has two SPI buses. We are already using one for the screen (SPI1). Therefore, we need to use SPI0. I initially made the mistake of using the same SPI bus for both the screen and the card reader. Because I use the Waveshare board expander, it wasn’t obvious to me which pins the screen was using. Therefore, I placed the card reader on the same pins. I noticed when the screen stopped working.
Here is the wiring diagram.

SD Card Reader Code
Now that the card is wired, we need the code. Micropython has a driver for SD card that is really easy to use. I added this file to my repository. I made a small change to add a function to mount the card. This just simplified the code in the rest of the game system.
def mountCard(path):
    cs = machine.Pin(17, machine.Pin.OUT)
    spi = machine.SPI(0, baudrate=1000000,
                      firstbit=machine.SPI.MSB,
                      sck=machine.Pin(18),
                      mosi=machine.Pin(19),
                      miso=machine.Pin(16))

    sd = SDCard(spi, cs)
    vfs = uos.VfsFat(sd)
    uos.mount(vfs, path)
The Game Menu
Now that we have access to the card, let’s display and load games. I created a new menu class that is a subclass of GameController. This way, we have all of the drawing/update functions we need.
Load Games
We create a new method called loadGames. This method uses os.listdir, which returns a list of the files and folders within a given directory. We can then iterate through the files to find files with the .py extension. I also removed files that start with a period, since those are intended to be hidden files. The resulting files are stored in the variable gameList.
def loadGames(self,path):
"""Load games from path. This function will only return games with .py extension."""
  gameList = os.listdir(path)

  # Process the list to remove filename extensions
  deletionList = []
  for index in range(0,len(gameList)):
    extension = gameList[index].find('.py')
    if (extension > 0) and (gameList[index][0] != '.'):
      gameList[index] = gameList[index][0:extension]
    else:
      # Not a python file, add to deletion list
      deletionList.append(gameList[index])

  for file in deletionList:
    gameList.remove(file)

  self.gameList = gameList
Initialization
In the constructor method, we initialize by mounting to the sd card and loading the game list. We also create a variable that will hold the current selection.
def __init__(self,path):
    super().__init__()
    self.path = path
    sdcard.mountCard(path)
    self.loadGames(path)
    self.currentSelection = 0
    self.playerInput = controller.Input()
Update Method
Next, we create the update method. This method runs every cycle of the game loop. Our basic approach is:
- Clear the screen
- Iterate through the list of games and print the game name on the screen
- Add a rectangle for the currently selected game
- Get player input (up, down, and A to select)
Memory Management
Once the menu was implemented, I could only load one game before I ran into memory issues. The Raspberry Pico only has 264 kB of RAM. Although it is great to have the garbage collection of Python, sometimes it is problematic, because you don’t know when the garbage will be collected. In our case, because each game created its own screen, every time we loaded a game (as well as for the menu itself), the system was allocating 32 kB for the screen buffer.
Therefore, I changed the game controller class to allow initialization with an existing screen.
def __init__(self,currentScreen=None):

    if currentScreen == None:
        self._screen = screen.Screen()
    else:
        self._screen = currentScreen
I added some memory logging code (currently commented out) in case you want to see the amount of memory used before and after we launch a game.
import gc
free = gc.mem_free()
used = gc.mem_alloc()
print("Memory before:",used/(used+free))
Next Steps
Now that we have a way to load games, we need to create games. Next step is to try to figure out an easy way to translate MakeCode Arcade TypeScript into our custom game engine.
