We are in the middle of a series showing how to create a game in Unity. Our game is a pizza delivery game called Pepperoni Pursuit. In our prior posts, we built the basic structure of the game. We are to the point where we can drive the car around and generate orders. Now, we need to create the user interface (UI). For the UI, we need to convey the following information:
- Delivery Location: where to pick up and drop off the pizzas
- Current score: how much money the player has
- Timer: how much time is left
- Orders: information about the orders.
In the sections below, we give code fragments. However, for the full code, see Github.
Create the UI Mockup
The first step is to create a mockup. To create the mockup, we used Figma:
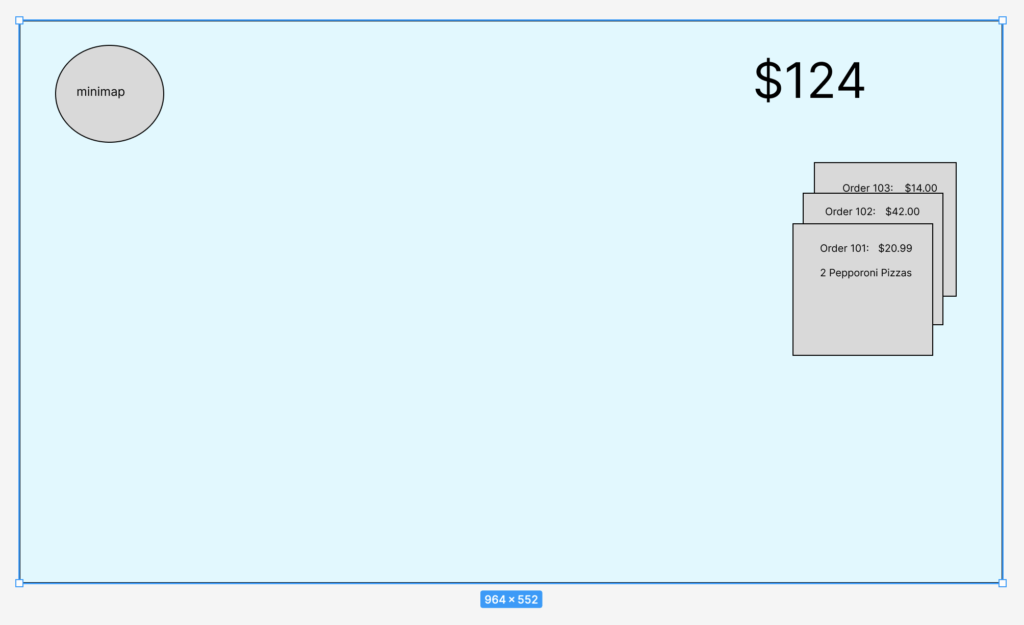
Creating a UI is definitely not my strong suit. I would much rather write code than create the UI. However, to create the UI, you can use inspiration from other games. A fantastic site to help visualize is the Game UI Database. This site has over 1,000 games. It categorizes different potential parts of the UI and provides examples from the games.
The Basics of Unity UI
The base of the UI is the canvas. We will put all of our UI elements on the canvas. While we are working with the canvas, it is easier to look in the game display instead of the scene.
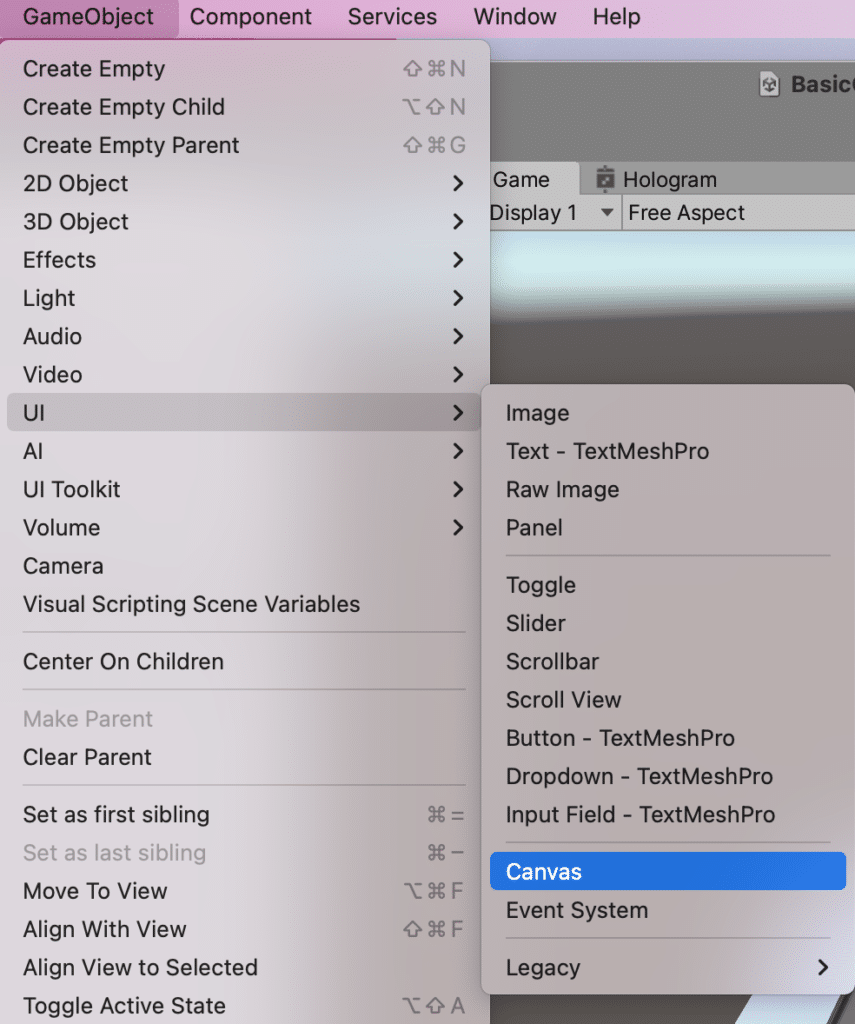
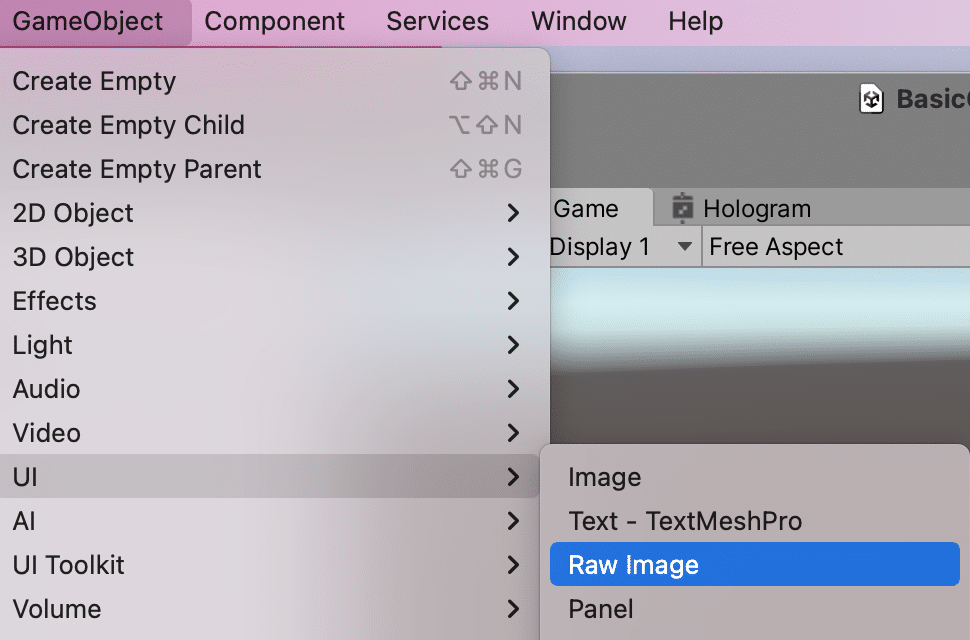
To add the canvas, click GameObject->UI->Add a canvas object. The canvas object will contain everything for our UI.
Delivery Location UI
First, we need to know where to deliver the pizza. We are going to add a direction arrow that points in the direction of the delivery location. We created a very simple arrow, saved it as a PNG file, and placed the arrow in the assets folder for the game.
Direction Image
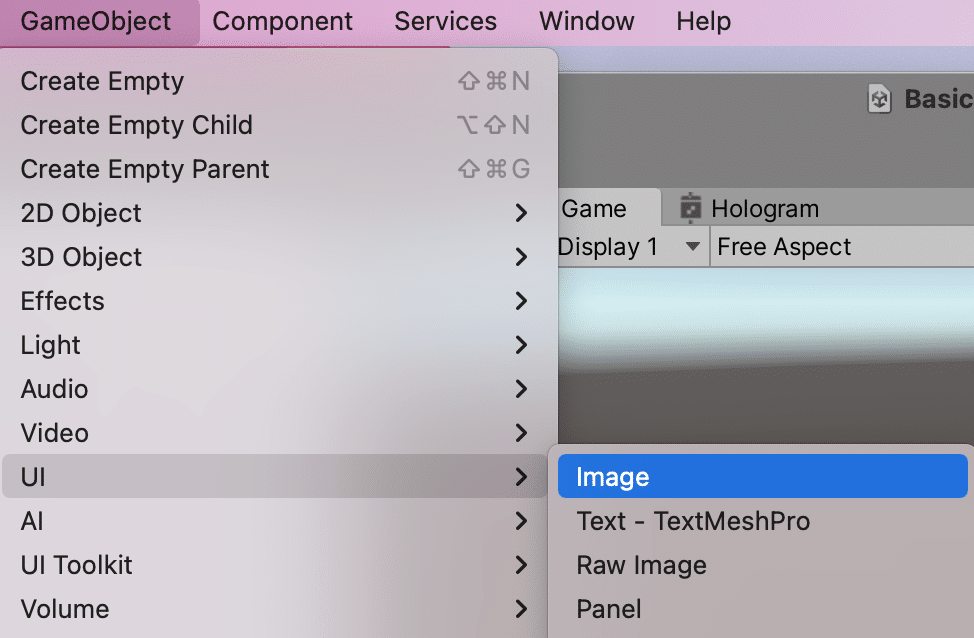
First, to add the image, click GameObject->UI->Image.
Change the name of the object to Arrow.
Go to the Assets folder where we placed the arrow image. Click on the image. We need to edit the import settings. Specifically, change the Texture Type to Sprite (2D and UI).
Drag this arrow image from the assets into the Source Image of the Image UI element that we added.
The arrow should appear in the middle of the screen.
Next, in the Rect Transform box of the inspector, we will change the anchor to “Top Center”. Anchors allow us to ensure that no matter what size screen we have, the arrow will always be anchored to the top center of the screen. Note that when we change this setting, it doesn’t change where the arrow currently is on the screen, it just changes the anchor point (what we consider 0,0). Adjust the position to make it look good. In our case, we are going to drag the arrow to the top of the screen, and we will adjust the size.
Direction Script
The direction script, which I called Arrow, will use the player’s location and the delivery target location to calculate an angle of rotation for the arrow image.
When we start the game, the script will set a player variable for the player game object. We will use this for the player’s location.
void Start() {
  playerObject = GameObject.Find("Player");
}
In the update function, we will:
- Get the vectors representing the player and the target positions, using only the x and z coordinates (remember, we are looking top down on the position).
- Subtract the player position from the target.
- Find the angle between the subtraction result and an arrow pointing straight up.
- Finally, apply the rotation to the arrow image.
void Update()
    {
        GameObject targetObject;

        // Find the target object - if it exists
        targetObject = GameObject.Find("DeliveryTarget(Clone)");

        // Calculate the direction
        if(targetObject != null && playerObject != null){
            // Get the player and target positions
            Vector2 player2D = new Vector2(playerObject.transform.position.x,playerObject.transform.position.z);
            Vector2 target2D = new Vector2(targetObject.transform.position.x,targetObject.transform.position.z);

            // Calculate a vector between the player and target
            Vector2 arrowDirection = target2D - player2D;
            arrowDirection.Normalize();

            Vector2 upArrow = new Vector2(-1,0);

            // Calculate the angle between the arroDirection and the up arrow
            float arrowAngle = Mathf.Floor(Mathf.Acos(UnityEngine.Vector2.Dot(upArrow,arrowDirection))/Mathf.PI*180);

            // Dot product finds the smallest angle between two vectors, therefore, we need to know
            // whether the sign should be positive or negative.
            if(arrowDirection.y > 0){
                arrowAngle *= -1;
            }

            // Rotate the arrow using euler angles
            gameObject.transform.rotation = UnityEngine.Quaternion.Euler(0,0,arrowAngle);
        }

    }
The Minimap UI
Next, we are going to add a minimap. The minimap will give the player a top down view of the streets. We used this blog post. I won’t repeat the steps, but at a high level:
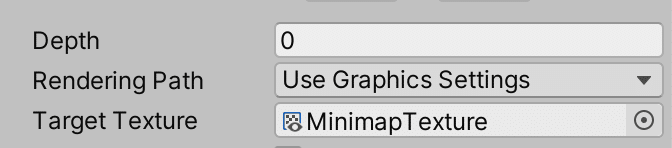
- Add a second camera (we called it minimap camera). We used the following settings:
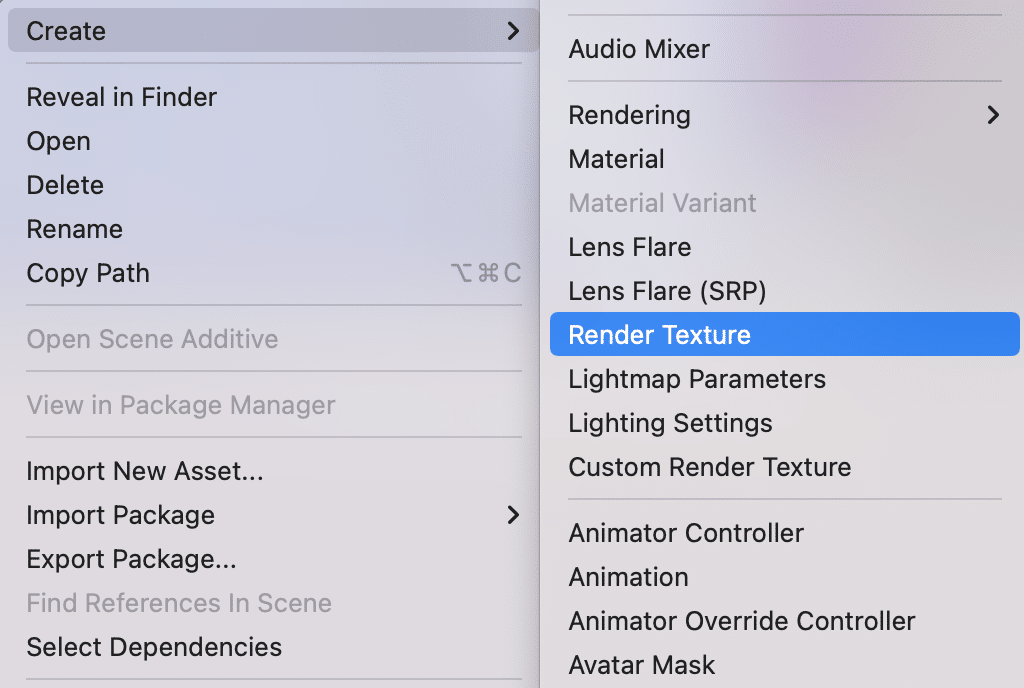
- Next, create a render texture.
- Set the camera’s target texture.
- Add a raw image to the Canvas UI and set the texture to our render texture.
I moved the minimap away from being parented to the player. It rotated with the player, which made it difficult to see. Created a minimap movement script to track the player.
Minimap Script
We will need a small script, which I called MinimapMovement, attached to the minimap camera. The map is too large to show the entire map in the minimap view. Therefore, we will need to move it slightly as the player moves.
In the script start, we get a reference to the player, and the current height of the minimap camera (alternatively, we could have used a height property, but I found it easier to adjust the camera itself and use the current camera height).
private float cameraHeight;
private GameObject playerObject;

// Start is called before the first frame update
void Start()
{
    playerObject = GameObject.Find("Player");
    cameraHeight = transform.position.y;
}
In the update function, we will set the camera position to the player position and overwrite the height with our previously stored height.
// Update is called once per frame
void Update()
{
    Vector3 newPosition = playerObject.transform.position;

    newPosition.y = cameraHeight;
    gameObject.transform.position = newPosition;
}
The Score and Timer UI
Next, we will add the score and timer. In our game, the score is the money. The goal is to earn as much money as possible. In future posts, we will create an upgrade system. The user will have to make a decision between upgrading or not. The timer shows how much time is remaining in the current match.
To create, I added an empty Game Object and called it GameStats. Within the GameStats, I added text objects for the Score and Timer called ScoreText and TimerText.
Next, we will create the score and timer scripts. I called these ScoreManager and TimerManager respectively.
ScoreManager
We will start with ScoreManager. Here is the full script.
public class ScoreManager : MonoBehaviour
{
    [SerializeField] GameObject scoreObject;
    private TextMeshProUGUI scoreText;
    private int score;

    // Start is called before the first frame update
    void Start()
    {
        scoreText = scoreObject.GetComponent<TextMeshProUGUI>();
        score = 0;
    }

    // Update is called once per frame
    void Update()
    {
        scoreText.text = "$" + score.ToString();
    }

    public void AddScore(int amount){
        score += amount;
    }

    public void DecreaseScore(int amount){
        score -= amount;
    }

    public int GetScore(){
        return score;
    }
}
We start the script with several variables:
- scoreObject: This is the score label text object. We will set this in the editor by dragging our score label game object.
- scoreText: This is the actual text field of the score label.
- score: The current score.
When the script starts, we get the text field from the scoreObject and set the initial score to 0. The update function sets the score text using our score variable. We also have simple public variables to control the score: add, decrease, get. The AddScore method is called by the delivery callback.
Timer Manager
The Timer Manager shows the time remaining. This script is slightly more complicated than the score script. The script has two variables that can be set in the editor:
- timerLength: how long the game will last
- clockText: the time labeled displayed on the screen
The script also has four private variables:
- timerObject: the text label
- currentTime: keeps track of how much time has passed
- timerAction: this scores a callback function (see here for more information on C# actions)
- timerEnabled: whether the timer is currently running or not
This script has four methods:
- Awake: sets the timerEnabled to false
void Awake(){
  timerEnabled = false;
}- DisplayTime: sets the timer text to the current time.
private void DisplayTime(bool endTime=false){
    if(!endTime){
        string strSeconds;

        float remaining = timerLength - currentTime;
        int minutes = (int)Math.Floor(remaining/60.0f);
        int seconds = (int)Math.Floor(remaining - (minutes*60));

        if(seconds < 10){
            strSeconds = "0" + seconds.ToString();
        } else {
            strSeconds = seconds.ToString();
        }

        timerObject.text = minutes+":"+strSeconds;
    } else {
        timerObject.text = "0:00";
    }
}- StartTimer: Public method called by the GameManger to initiate the timer. Sets the callback function (in our case, the GameManager will set this to a GameOver function). Sets the current time to 0. Enables the timer and calls DisplayTime.
public void StartTimer(Action callback){
    timerObject = clockText.GetComponent<TextMeshProUGUI>();
    timerAction = callback;
    currentTime = 0.0f;
    timerEnabled = true;

    if(timerObject != null){
        DisplayTime();
    }
}- Update: Updates the time passed and displays the time.
// Update is called once per frame
void Update()
{
    if(timerEnabled){
        currentTime += Time.deltaTime;
        DisplayTime();

        if(currentTime >= timerLength){
            timerAction();
            timerEnabled = false;
            DisplayTime(true);
        }
    }
}
The Orders UI
The final piece of the UI (for now) is the list of orders. We want to provide the user with the current orders and allow them to make decisions based on the orders. For example, if they want to ignore a low value order to focus on a more important order, they can. However, they may face reputational damage.
The order UI is simply a white square background and a text label foreground. Since this object is not constantly on the screen, we will turn this into a prefab that we can create when a new order is created. To turn it into the prefab, drag the object onto the Asset explorer.
We create the order prefab in the GameManager. When we start the game, we set the callback function for the order system to call NewOrderCallback.
orderSystem.SetCallback(NewOrderCallback);We also create a dictionary that we will use to keep track of the order UI elements.
orderPrefabDictionary = new Dictionary<int, GameObject>();When the NewOrderCallback function is called, we instantiate a new order UI object and store it in a dictionary.
void NewOrderCallback(Order newOrder)
{
    // Function to give to OrderSystem Callback
    // Called when a new order is generated

    Debug.Log("Received new order: " + newOrder.customerName);

    // Create the order on the screen
    orderPrefabDictionary.Add(newOrder.orderNumber, GameObject.Instantiate(orderPrefab,canvas));
}
We also add code to the DeliveryCallback to remove an order UI prefab from the dictionary.
if(orderPrefabDictionary.ContainsKey(currentOrder.orderNumber)){
    GameObject.Destroy(orderPrefabDictionary[currentOrder.orderNumber]);
    orderPrefabDictionary.Remove(currentOrder.orderNumber);
}
Wrapping Up
This was a long post. Initially, I started with just the layout of the UI. However, that felt too short so I added the wiring as well. Through this post, we showed how we set up the timer, score, minimap, and order UI elements. The basic process is the same for all, a text label connected to a script that is called by the GameManager.
Where to next? We have our basic game running. Take a spin with the car and see what you can do. There is a lot more that we can do with this game in the future. We plan to add some upgrades that allow us to make the car faster. I would like to also add more driving obstacles and customer sentiment that changes how much you earn from a delivery.