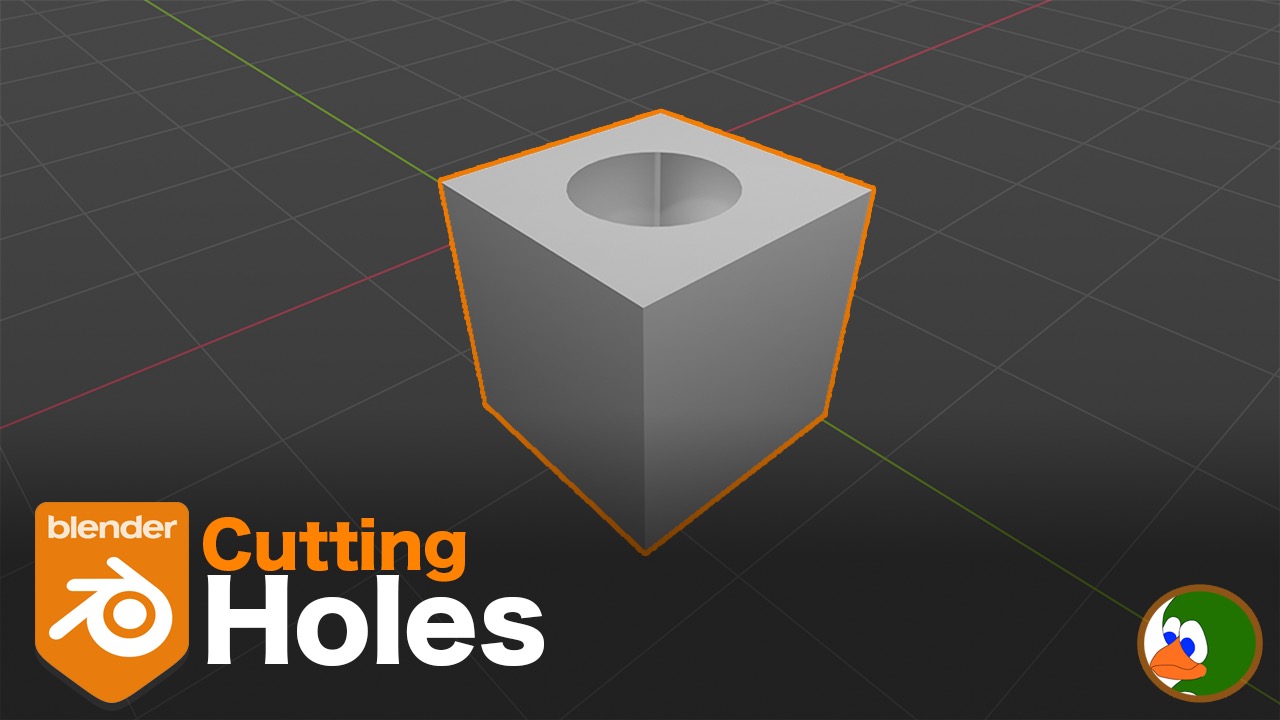
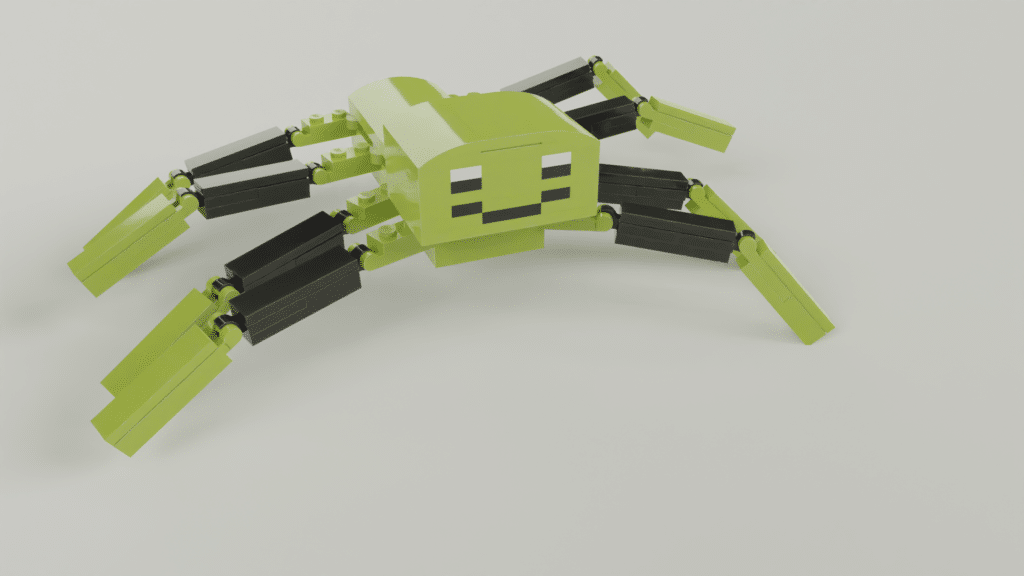
Sometimes while creating a marble run, I need to cut a hole in a model so the marbles can drop through. For example, in my most recent animation, I created this cylinder, but I needed a hole in the bottom of the cylinder. In this post, I will show you three ways to create a circle in a mesh. The three methods we will use are boolean operators, “to sphere”, and knife project.
Method 1: Boolean Modifier
The first method that we will use is the boolean modifier. Boolean operators perform logical operations (intersection, union, and difference) on a modified mesh based on a target mesh.
What are the three operations:
- Intersection: Only keeps the part of the modified mesh that overlaps with the target mesh.
- Union: Adds the target mesh to the modified mesh.
- Difference: Deletes the part of the modified mesh that overlaps with the target mesh.
Below is a graphic that I find helpful when thinking of these operations.

To use the boolean operator, add a plane and a cylinder to the scene. Move the cylinder such that it is intersecting with the plane.
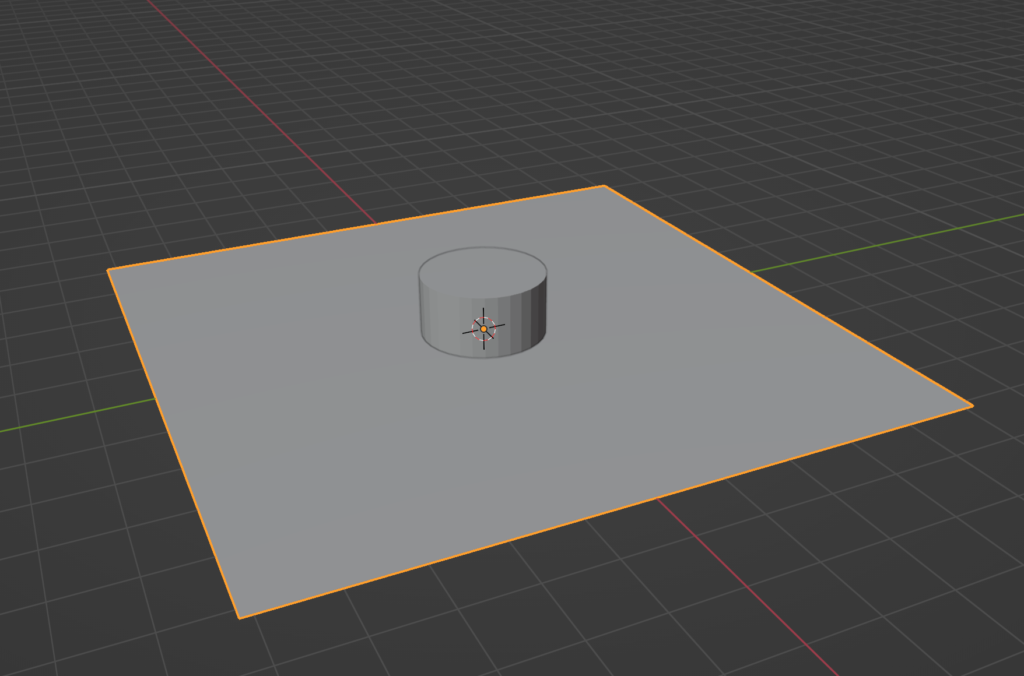
With the plane selected, go to the modifier panel and select Add Modifier->Boolean. In the Object Box, select the cylinder you added and choose “Difference”.
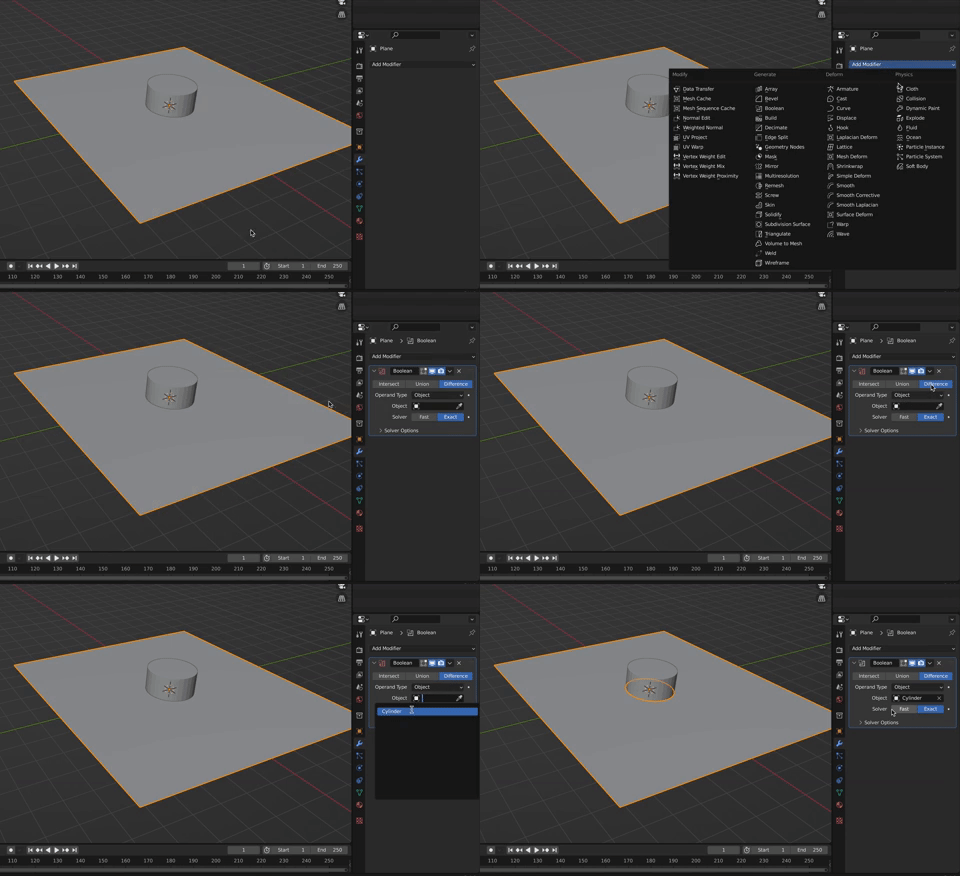
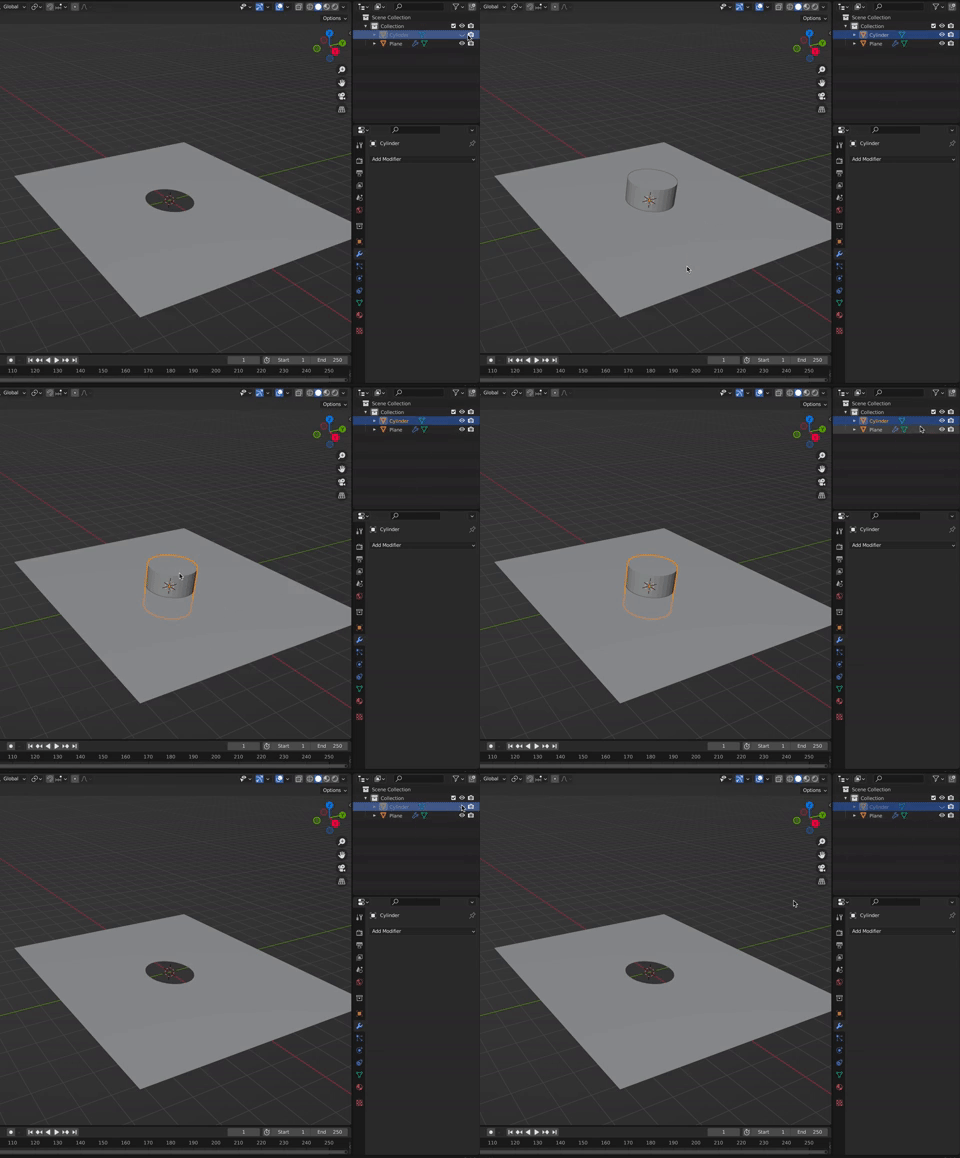
Initially, it will look like nothing happened. When using boolean modifiers, I like to hide the target mesh to see the effect on the modified mesh. You can do this by selecting the target mesh (in our case the cylinder) and press h. This hides the target mesh. Alternatively, in the upper right corner, you can click the eye icon to the right of the Cylinder.
If you are happy with the results, you can apply the modifier and then delete the target mesh leaving you with a circle cutout in the plane.
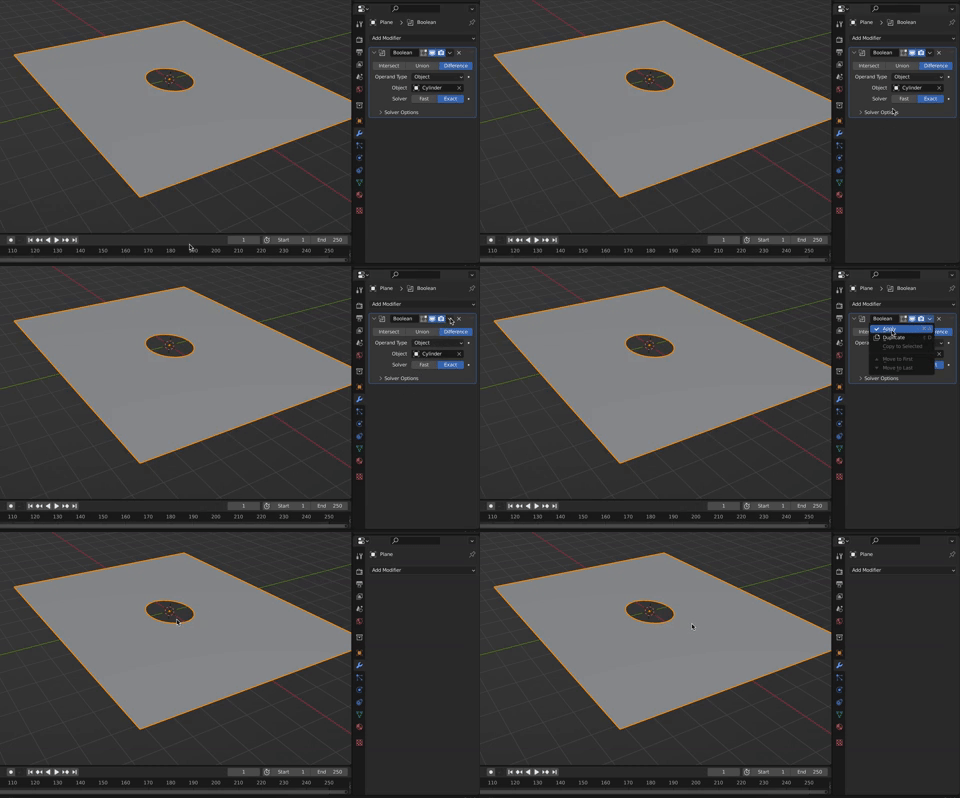
This method is quick. However, this approach just cuts a hole through the plane, creating new vertices in the plane. It does not result in a beautiful mesh. Depending on what you want to do with the mesh, this may be limiting. Therefore, you may want to consider method 2.
Method 2: To Sphere Method
The second method is to use the To Sphere mesh transformation tool.
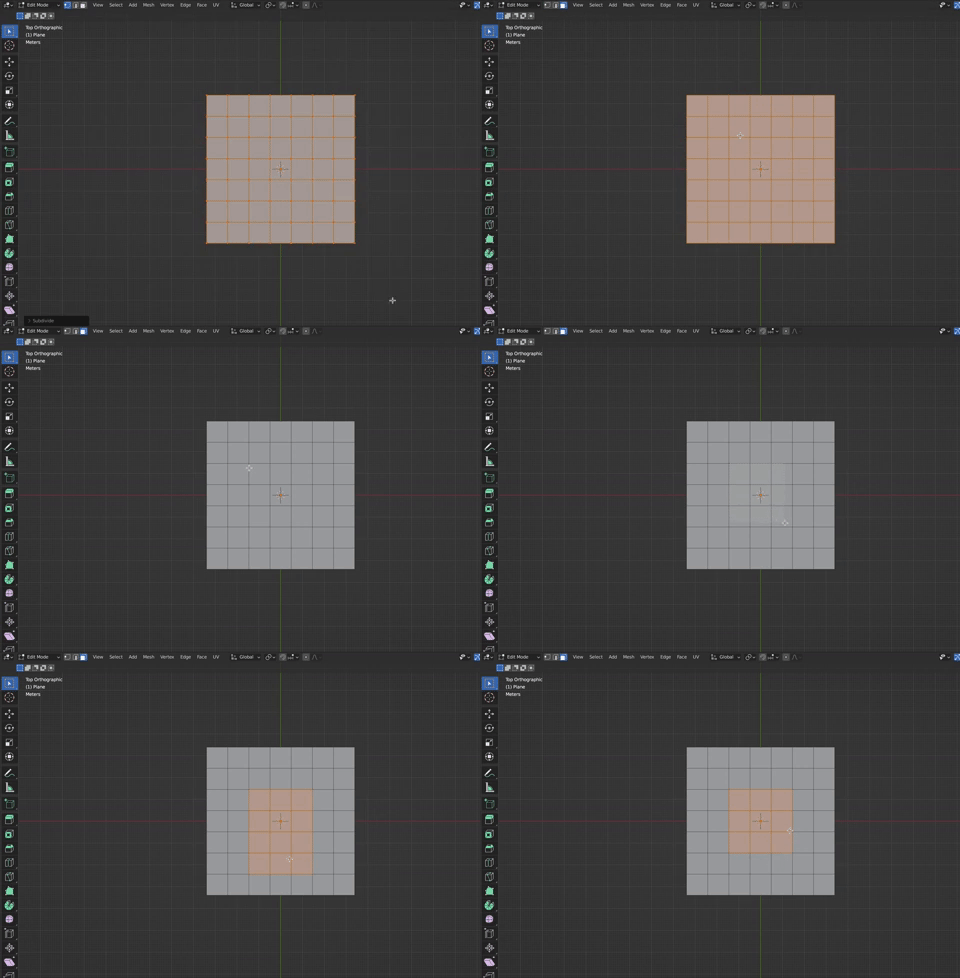
Add a plane to the scene. This method requires more geometry to work. Therefore, we are going to switch to edit mode and subdivide the mesh a few times (Edge->Subdivide). In my case, I did 6 cuts.
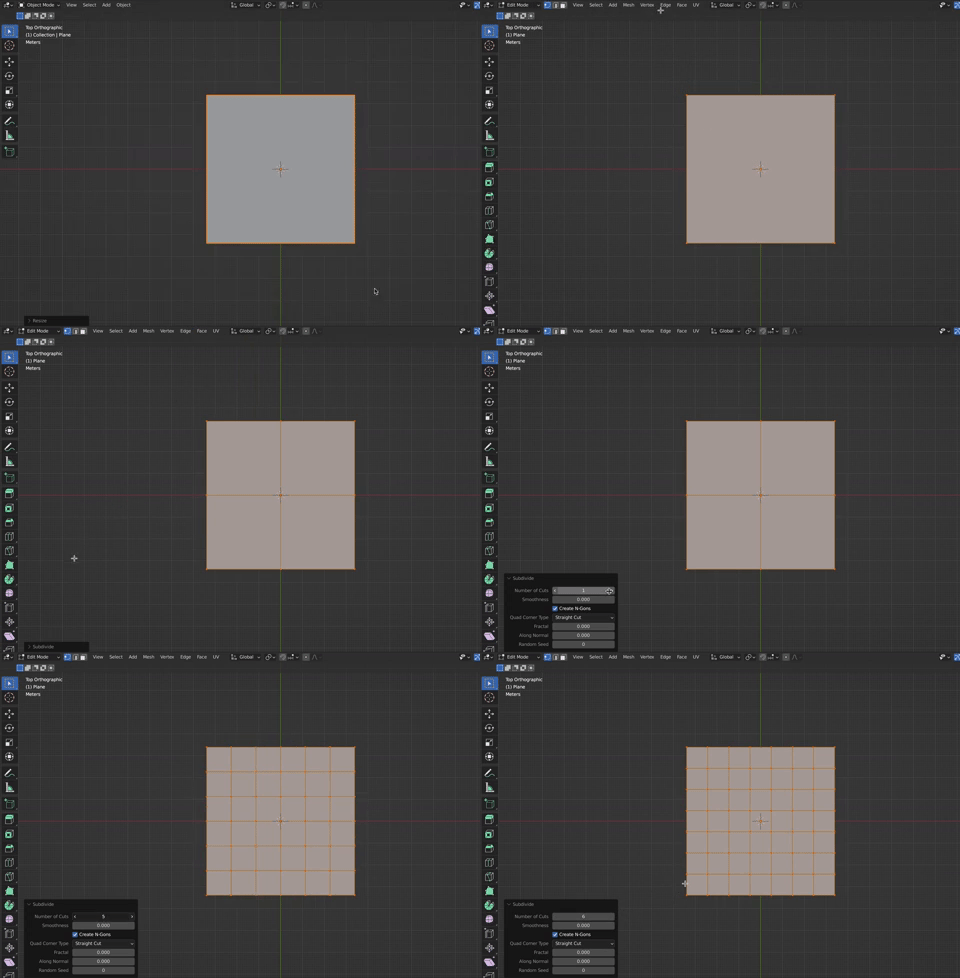
Once subdivided, I changed to face select and selected the 9 middle faces. Next, I selected Mesh->Transform->To Sphere. You then drag the mouse to the desired circular shape.
Method 3: Knife Project
The third method is a tool that I just came across as I was writing this post. This tool allows you to cut a circle (or any shape) using the Knife Project.
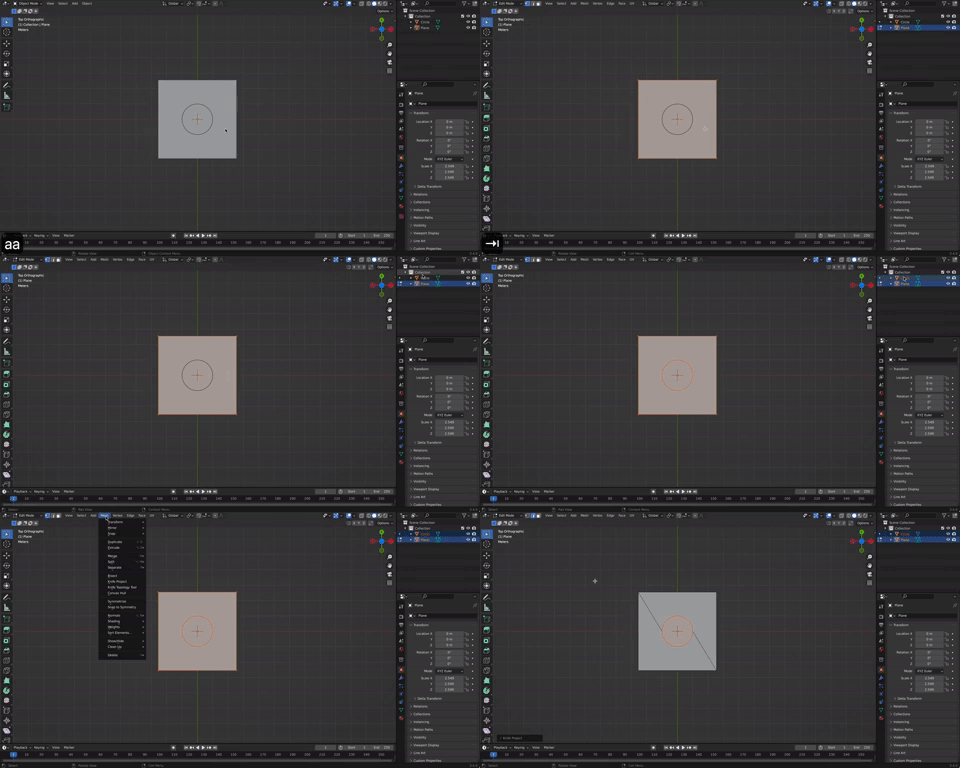
Add a plane to the scene. Next add a circle Mesh->Circle. This tool will project the circle onto the plane. Therefore, your viewpoint is very important. Switch to the top view (Numpad 7) and position the circle above the plane.
Select the Plane. Press tab to switch to edit mode. In the outliner in the top right select the circle (Ctrl+Left click). Click Mesh->Knife Project.
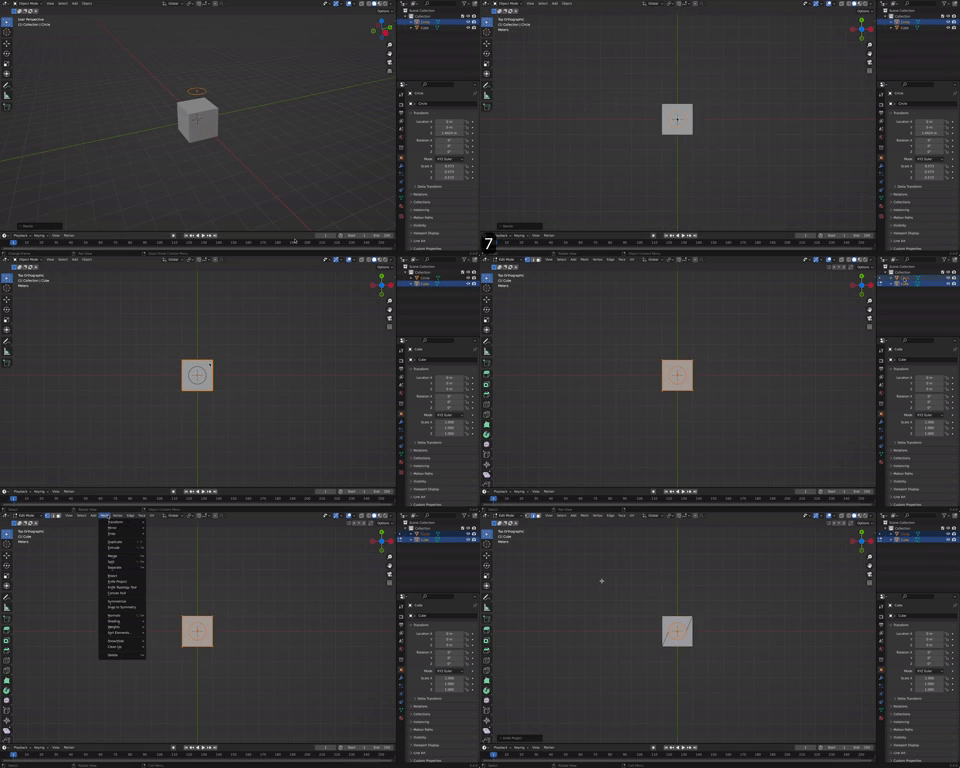
If you have a more complicated mesh (like a cube), you can cut all the way through the mesh by selecting Knife Project->Cut through in the bottom left.
I struggled for a while learning to use this technique. Note that in Blender 2.93, the method to use this tool changed slightly. Prior versions required a slightly different way of selecting the objects that resulted in an error message. However, for the version I am using 3.1, the method above works.
Conclusion
This post provides three easy ways to cut a circle in a mesh. Which one you choose is mostly a matter of preference. If one method is not giving you the results you want (i.e., it looks weird), try one of the other methods.
If you enjoyed this post, consider subscribing to the newsletter where I share work-in-progress updates, upcoming tutorials, and the occasional behind-the-scenes look at what I’m building.
