In this post, we are going to use Django to create a score API where we will store a gamer ID and the top score that they achieved in a game. In the past, I have used Node.js for this. However, I prefer Python, leading to Django.
If you want a quick overview of REST, see our previous post.
Initialize a Django Project
If you have not already, install Django:
pip install djangoCreate Django Project
Next, we will create a project called harlepengren using django-admin:
django-admin startproject harlepengrenDjango-admin is a command line utility that makes administrative tasks easy. In this line, we are asking the utility to create a project called harlepengren. Note, you do not need to create this in your web server root (you don’t even need a web server running to play with Django, because Django comes with its own development web server).
You should now have a directory called harlepengren. If you go into the directory, you will see a file called manage.py, which we will use to run the project, and another folder called harlepengren that contains our top level settings (both settings.py and urls.py).
Test Run
We can test that this project runs by typing the following in the harlepengren folder with manage.py:
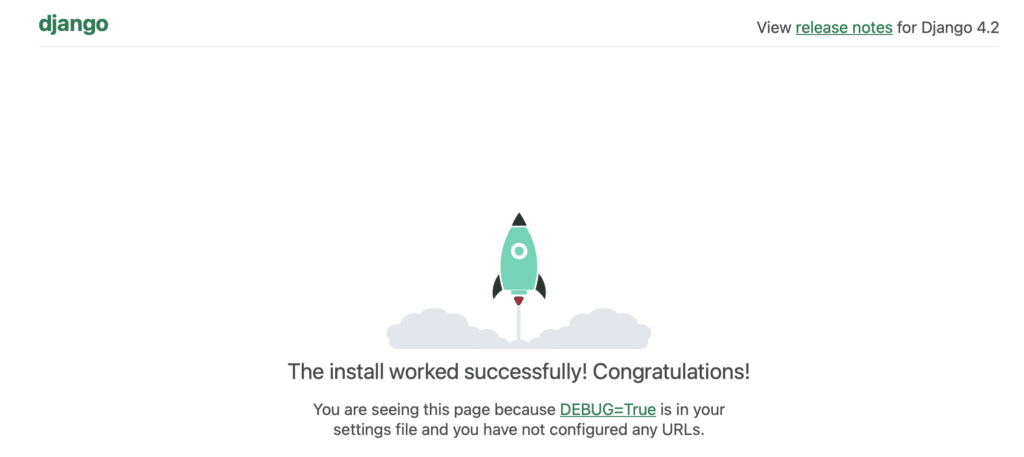
python manage.py runserverNow, we can go to the web server (e.g., on local host http://localhost:8000). If it is working, you should see this image.
As a quick side note, I am remotely developing on a Raspberry Pi, so I need to edit the settings.py to add ‘raspberrypi.local’ to the allowed hosts, and I will run the server using the following:
python manage.py runserver 0.0.0.0:8000Install Django Rest Framework
pip install djangorestframeworkEdit harlepengren/harlepengren/settings.py to add rest_framework to installed apps.
# Application definition

INSTALLED_APPS = [
    'django.contrib.admin',
    'django.contrib.auth',
    'django.contrib.contenttypes',
    'django.contrib.sessions',
    'django.contrib.messages',
    'django.contrib.staticfiles',
    'rest_framework',
]
Create API Application
Next, we will create an API application. An application in Django is a unit of functionality. A Django project can have multiple applications. Each app is a Python package.
To create an app, type:
python manage.py startapp apiThis will create a folder call api within our root folder (harlepengren). Within this folder, it creates an __init__.py file that tells Python this is a package. In addition, it creates admin.py, apps.py, models.py, tests.py, and views.py. These are the core components of the application.
We need to add this app to the list of installed apps in harlepengren/settings.py (‘api.apps.ApiConfig’)
INSTALLED_APPS = [
    'django.contrib.admin',
    'django.contrib.auth',
    'django.contrib.contenttypes',
    'django.contrib.sessions',
    'django.contrib.messages',
    'django.contrib.staticfiles',
    'rest_framework',
    'api.apps.ApiConfig',
]
Create the URLs
We need to set up both the project URL as well as the application URL. When the web server receives a request, it starts with the project URL (currently in the folder harlepengren/harlepengren/). We add the following:
from django.urls import include

urlpatterns = [
    path('admin/', admin.site.urls),
    path('api/', include('api.urls')),
]
The api/ line will send the request to our api application. Within the api folder, we need to create urls.py and add the following:
from django.urls import path
from . import views

urlpatterns = [
  path("", views.index, name="index"),
]
This is temporary. We will update this later once we have the API structure in place.
Add a Default View
Next, we will add a default view. In api/views.py, add the following:
from django.shortcuts import render
from django.http import HttpResponse

# Create your views here.
def index(request):
    return HttpResponse("hello")
This is not necessary for our API, but useful for testing. We can test by typing the following in the root harlepengren folder:
python manage.py runserverIn a browser, simply type:
http://localhost:8000/api/You should see a simple screen with just:
hello
Building the Model
The next step is building the model. This is essentially the database that will store our username and score information.
Choosing a Database
In the initial setup, Django created an sqlite database in the root harlepengren folder named db.sqlite3. For our purposes, we are going to use that database. However, you can use other databases if you prefer.
Migrate to the Database
When you run the server, you may have noticed a warning such as the following:

This is related to the database, and we will fix this as part of the next step. This warning just tells us that we have model changes that have not been propagated into the database. This is called migration. We will do this every time we make a model change. Migrating is really easy, and the warning tells you what to type:
python manage.py migrateCreate a User Model
The first model that we want to create is a user model. This model will just store a username for now. In the future, it could store other information about the user (e.g., email address, preferences).
To create the model, we will add the following class to harlepengren/api/models.py.
class User(models.Model):
        username = models.CharField(max_length=200)
Next, we will add a class for score that has a primary key based on the username.
class Score(models.Model):
        user = models.ForeignKey(User, on_delete=models.CASCADE)
        score = models.IntegerField(default=0)
The ForeignKey method simply establishes a many to one relationship with our User table. The on_delete parameter tells the database to delete any related records in Score if the User is deleted.
Similar to the previous step, we need to migrate the changes to the database. In the root harlepengren, type:
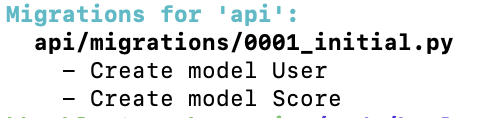
python manage.py makemigrations apiIf it runs successfully, you should see the following:
Creating the REST API
Now that we have the model, we need to set up the API. There are three steps:
- Serialize the model (i.e., convert to JSON/XML)
- Create a view to render the data
- Update the URLs to point to the view
Create Serializers
Serializers help to transform data from Python data structures into something that can be sent through the API (e.g., we will use JSON). In our api folder, we will create a new file called serializers.py.
from rest_framework import serializers
from .models import Score, User

class ScoreSerializer(serializers.HyperlinkedModelSerializer):
    class Meta:
        model = Score
        fields = ['user','score']

class UserSerializer(serializers.HyperlinkedModelSerializer):
    class Meta:
        model = User
        fields = ['username']
Create the View
Next, we are going to replace api/views.py to the following:
from rest_framework import viewsets
from .serializers import ScoreSerializer, UserSerializer
from .models import Score, User

class ScoreViewSet(viewsets.ModelViewSet):
        queryset = Score.objects.all()
        serializer_class = ScoreSerializer

class UserViewSet(viewsets.ModelViewSet):
        queryset = User.objects.all()
        serializer_class = UserSerializer
We use the ModelViewSet class from Django REST framework. We provide the viewset with our query as well as our serializer.
Update the URL
We will update api/urls.py with the following:
from django.urls import include, path
from rest_framework import routers
from .views import *

router = routers.DefaultRouter()

router.register(r'score', ScoreViewSet)
router.register(r'user', UserViewSet)

urlpatterns = router.urls
We create a default router. We use the default router to register both of our viewsets. Finally, we add for our viewset and add that to the patterns.
Adding Some Data
Now that we have the API in place, let’s add some data.
Create Admin
First, we will create an admin view:
python manage.py createsuperuserNext, we need to show our model in admin. Add the following code to api/admin.py
from django.contrib import admin
from .models import Score, User
class UserAdmin(admin.ModelAdmin):
list_display = ['username']
class ScoreAdmin(admin.ModelAdmin):
list_display = ['user','score']
admin.site.register(User, UserAdmin)
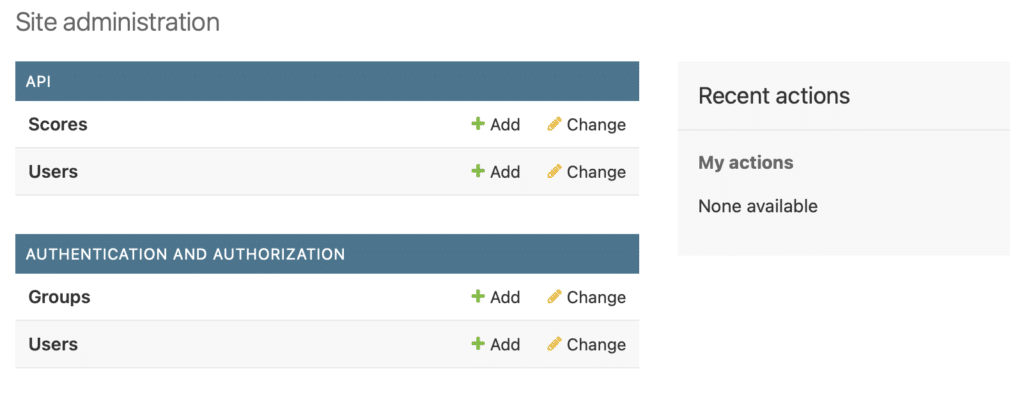
admin.site.register(Score, ScoreAdmin)Now run the server and go to http://localhost:8000/admin/. You should see the following screen:
Add Data
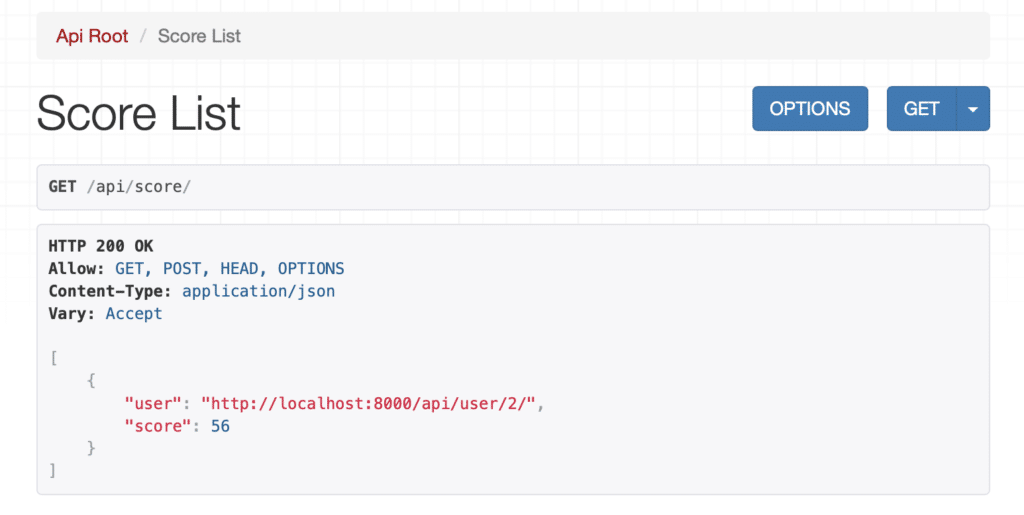
Through either the admin screen or the django shell (python manage.py shell) add some data. In the shell, we can type the following:
from api.models import Score, User
user = User(username=”test”)
user.save()
score = Score(user=user, score=56)
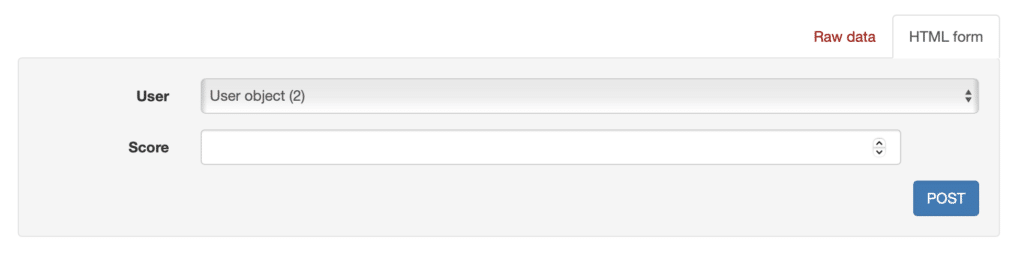
score.save()Now, if we run our server, and go to http://localhost:8000/api/score/, we should see the following:
Note that you can also add data through the API page.
Conclusion
This post provides an introduction to using the Django framework to create a REST API. Although, I am not completely convinced that this is a full replacement for something like Node.js. I definitely prefer coding in Python over Javascript. In addition, since it includes its own lightweight web server, development was incredibly easy.