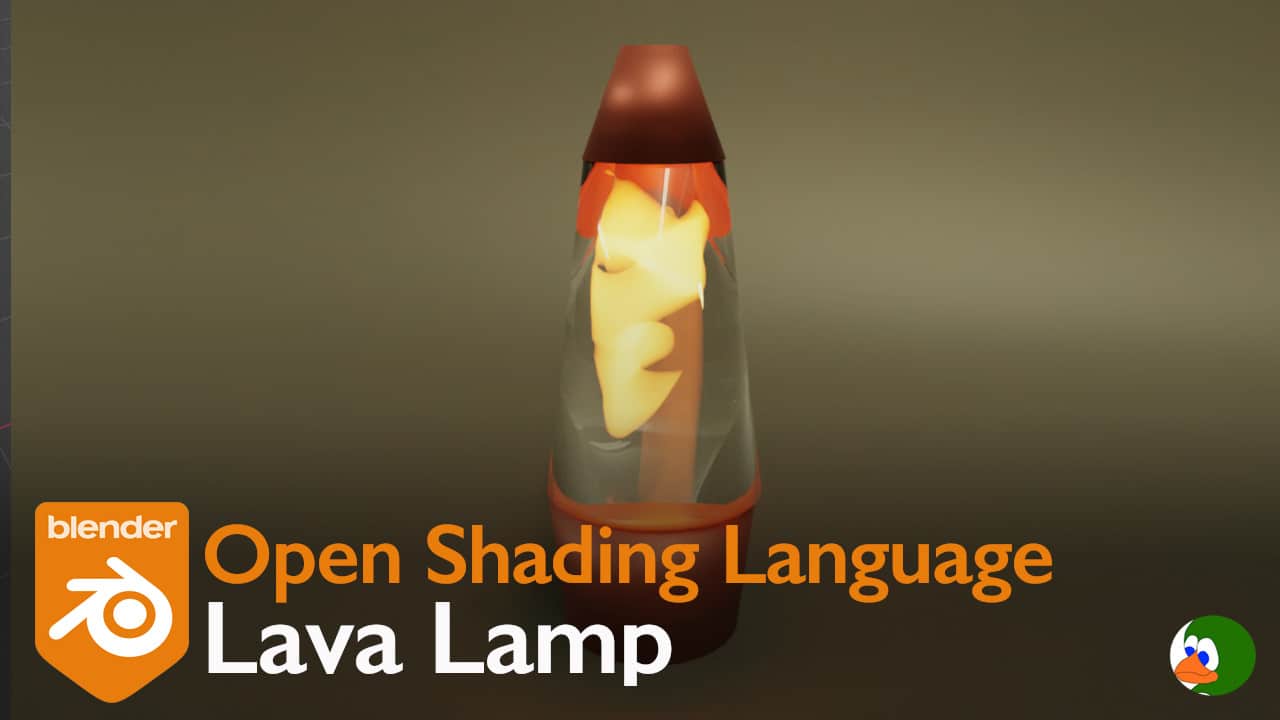
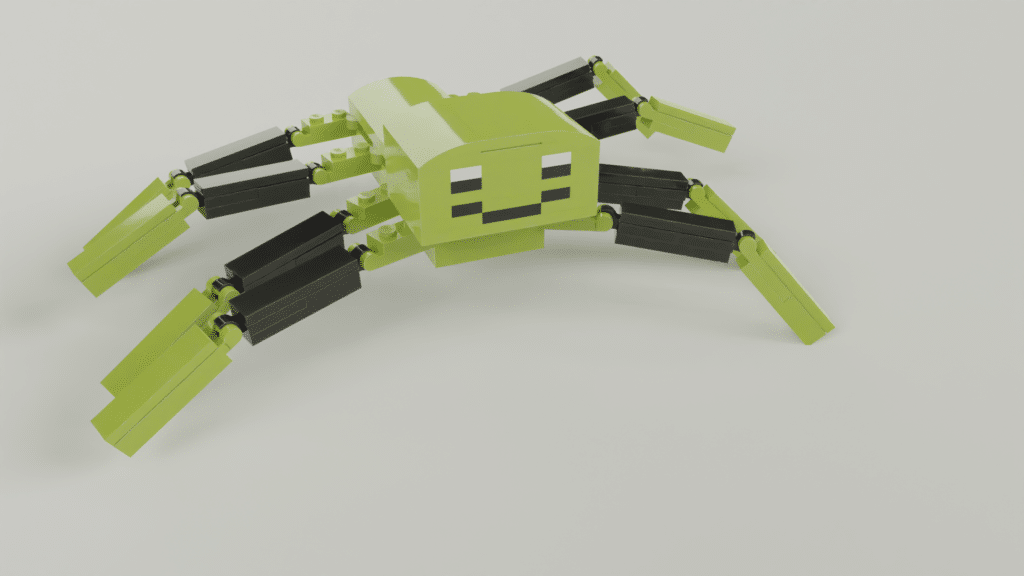
Recently, my children came home with a “lava lamp” that they made at school. The lava lamp was made of vegetable oil, alka seltzer, and water. Watching them drop the alka seltzer tablets into the lava lamp gave me an idea for an Open Shading Language (OSL) shader that simulates the “lava” in a lava lamp.
The Code
The code for this OSL shader is very simple. You can download this code as well as our other OSL shaders from our Github repository.
volume LavaLamp(color inputColor = 1, float seed=10.0,
                float power=100, output closure color BSDF=0)
{
    float fNoise = noise("uperlin",P,seed);

    if(fNoise > 0.5) {
        BSDF = emission()*fNoise*power*inputColor;
    } else {
        BSDF = 0;
    }
}
What is Open Shading Language
For a background on Open Shading Language, check out our previous post that provides an overview of Open Shading Language and how to use it. You can also see the Open Shading Language specification and the Blender documentation.
Open Shading Language Basics
We start with the basic structure of OSL.
volume LavaLamp() {

}
Open Shading Language has five different types of shaders: surface, displacement, light, volume and generic. According to the OSL specification, the volume shader “describe[s] how a participating medium (air, smoke, glass, etc.) reacts to light and affects the appearance of objects on the other side of the medium.”
The volume shader is called from points within the model. We can get the current location from which the shader was called by using the global variable P. P always gives you the location of the point that you are shading.
Parameters
Next, we will take a look at the parameters. As a reminder, all of the parameters require a default value. I frequently forget to include, resulting in a compile error. This particular shader takes three input parameters and one output.
volume LavaLamp(color inputColor = 1, float seed=10.0,
                float power=100, output closure color BSDF=0) {

}
The first input parameter is inputColor, which is type color. I normally set my input color default value to white (1).
The second parameter is a float that sets the seed. In the lava lamp, I animated the float to change the shape over time (more on this later).
The third parameter is power. This parameter determines how strong the emission will be.
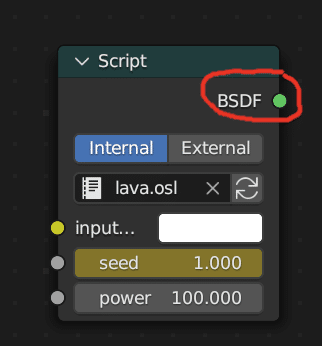
The last parameter is the output BSDF. We signal that it is an output parameter with the keyword “output”. We also include the keyword “closure”. A closure is complicated, but you can think of it as a function that is called by the renderer to describe the surface. Or even simpler, it creates the little green dot in the Blender materials nodes.
Make Some Noise
When the OSL function is called, the first step is to create noise. We use the built-in function noise. This function offers different types of noises.
Noise takes three parameters. The first parameter is the type of noise. In our case, we will use the perlin noise. The u before perlin denotes that we want the noise to be unsigned, which means in the range of (0,1).
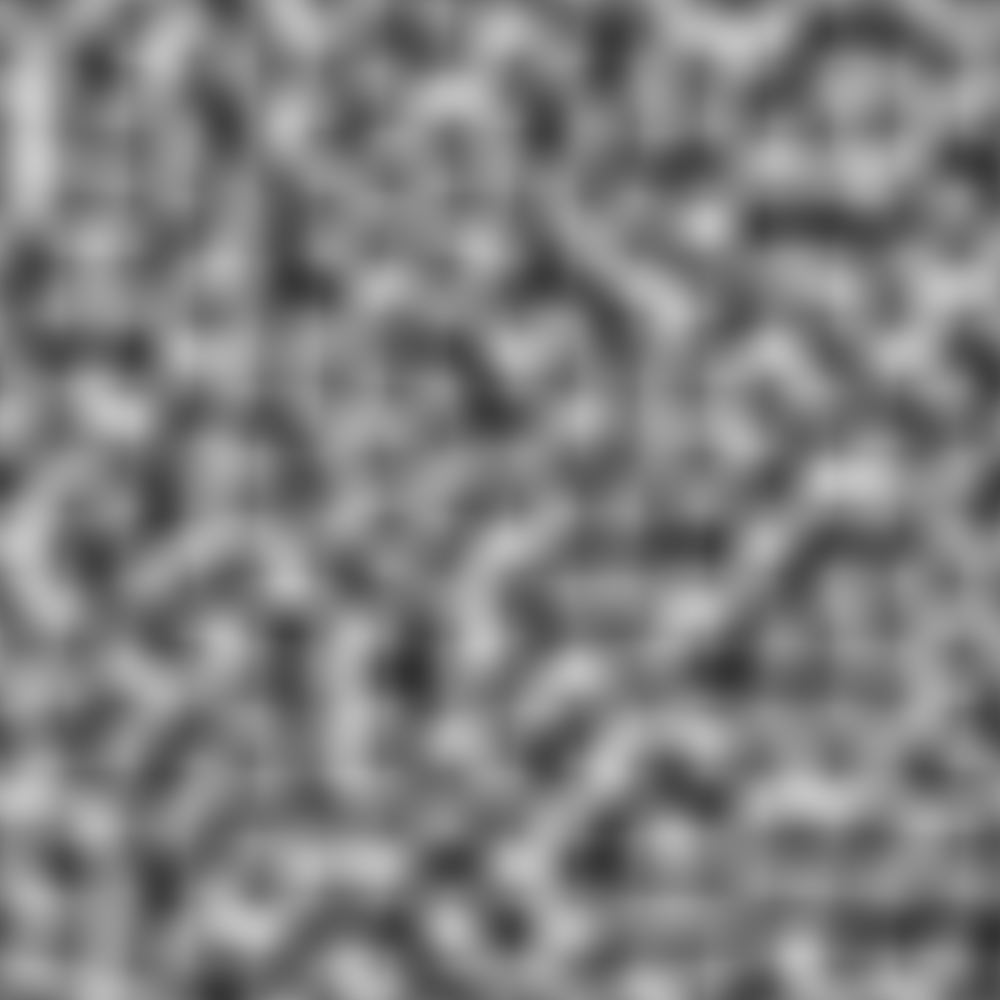
The second parameter is the point that we are shading. In our case, we will use the global variable P. The last parameter is a seed that changes the appearance of the noise.
The return value is a float between (0, 1). We store that in fNoise.
float fNoise = noise("uperlin",P,seed);Whether to Emit or Not Emit
For the final part of this simple shader, we examine the value in fNoise. If the value is greater than 0.5, we tell the renderer to render an emission shader. If the value of fNoise is 0.5 or less, we output a 0.
To output the emission, we use the built-in function emission(). Since we are calling in the context of a volume, this light is emitted in all directions from the point. We multiply the closure returned from emission() by our input parameter power and by the input color.
if(fNoise > 0.5) {
   BSDF = emission()*fNoise*power*inputColor;
} else {
   BSDF = 0;
}
Blender Nodes
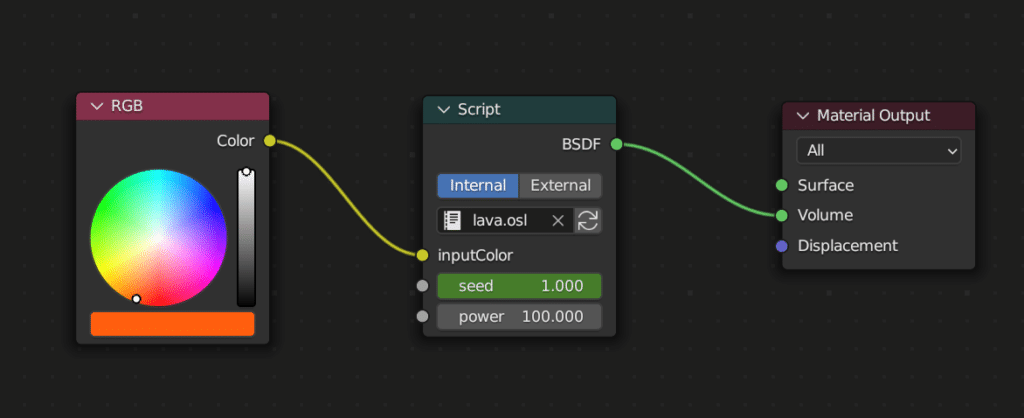
Now that we have the code, let’s compile and connect. Go to the shading tab in blender. Delete the Principled BSDF and insert a script node (shift + a, Script). Open the script and click the compile button. If every compiles correct, you should see the node change to show three inputs and one output. Next, we will add an RGB node and select an orange color. Below is our final node setup.
Animating the Lava
To animate the lava lamp, we will animate three properties. The first property is the seed input in our OSL node. To make the animation repeatable, we add keyframes to the beginning, end, and middle. Simply right click on the property and select “Insert Keyframe”.
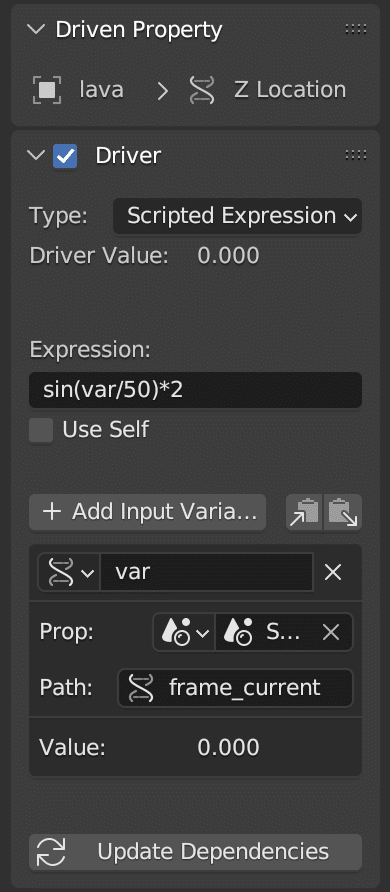
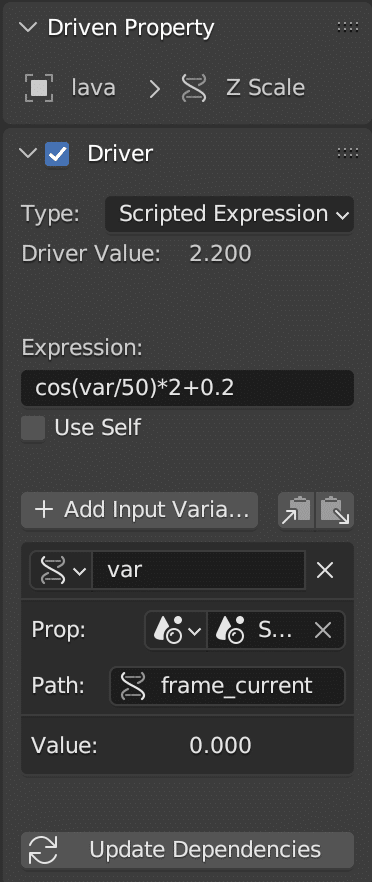
The other two properties that we will animate are the Z location and Z scale. To animate these, we will add a driver. In both, we create a variable based on the current frame. We name this variable, var.
For the location, we use the equation: sin(var/50)*2
For the scale, we use: cos(var/50)*2 + 0.2
Conclusion
This shader is incredibly simple; however, it is very useful. With additional animation, it looks relatively good. The only part that I would change is the scaling around the edges of the animation, which causes the lava to look flat. The other change that I would make is to reduce the power of the HDRI light to make the lava have more of a light effect on the surrounding scene.
Hopefully, you find this useful. Let me know your thoughts in the comments.
